

















By Rowan P. Briarwick
A squat rack is a nice tool. It is not a requirement. Some of the toughest leg sessions I’ve ever put together used nothing more than a sturdy chair, a doorway, and body weight, and by the end my legs were shaking in a way that no amount of light rack work ever managed. If you train at home, live in a small apartment, or just don’t want to fight for space at a crowded gym, you can build serious lower-body strength without a single barbell.
This guide walks through exactly how to do that: the muscles you need to target, the substitutions that replace a rack, a full step-by-step session structure, a sample week-by-week progression, and the mistakes that quietly stall most home leg programs. Every exercise here has been chosen because it can be loaded, progressed, and made genuinely hard using body weight, a chair, a backpack, or a resistance band.
Before starting any new exercise program, especially if you have an existing joint issue, a cardiovascular condition, or you’re returning from injury, check in with a doctor or physical therapist first. Nothing in this article is individualized medical advice.
Why a Rack Isn’t the Point
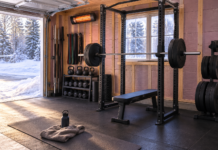
A squat rack exists to solve one problem: how to safely hold a heavy barbell on your back or in front of your shoulders. That’s genuinely useful once you’re lifting weight your body can’t easily pick up and put down on its own. But for most home trainees, the actual goal isn’t “lift the heaviest possible barbell.” It’s building strength, muscle, and durability in the quadriceps, hamstrings, glutes, and calves so your legs hold up in daily life and in whatever sport or activity you care about.
The CDC’s physical activity guidelines for adults call for muscle-strengthening activity on two or more days a week that works all major muscle groups, legs included, alongside 150 minutes of moderate aerobic activity weekly (or 75 minutes of vigorous activity). Nowhere in that guidance does it specify a barbell, a rack, or a gym membership. What matters is that the muscle is worked against meaningful resistance, regularly, over time.
“Adults need muscle-strengthening activities on 2 or more days a week that work all major muscle groups, including the legs, hips, back, abdomen, chest, shoulders and arms.”
— U.S. Centers for Disease Control and Prevention, Physical Activity Guidelines for Adults
Bodyweight and single-leg training also do something a barbell squat can’t: they train each leg independently. That matters more than most lifters assume. Research on unilateral versus bilateral leg training, including work by Janzen, Chilibeck and Davison examining postmenopausal women and later research by Beurskens and colleagues in older adults, has explored what’s called the “bilateral deficit,” the finding that the combined force two legs produce together is often less than the sum of what each leg can produce on its own. Single-leg work closes strength imbalances between limbs that bilateral barbell squats can quietly mask.
What You Actually Need Instead of a Rack
You don’t need a home gym. You need a short list of substitutes that each replace a specific function a rack normally provides.
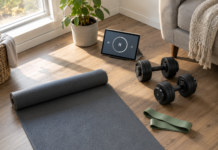
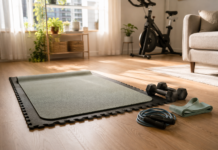
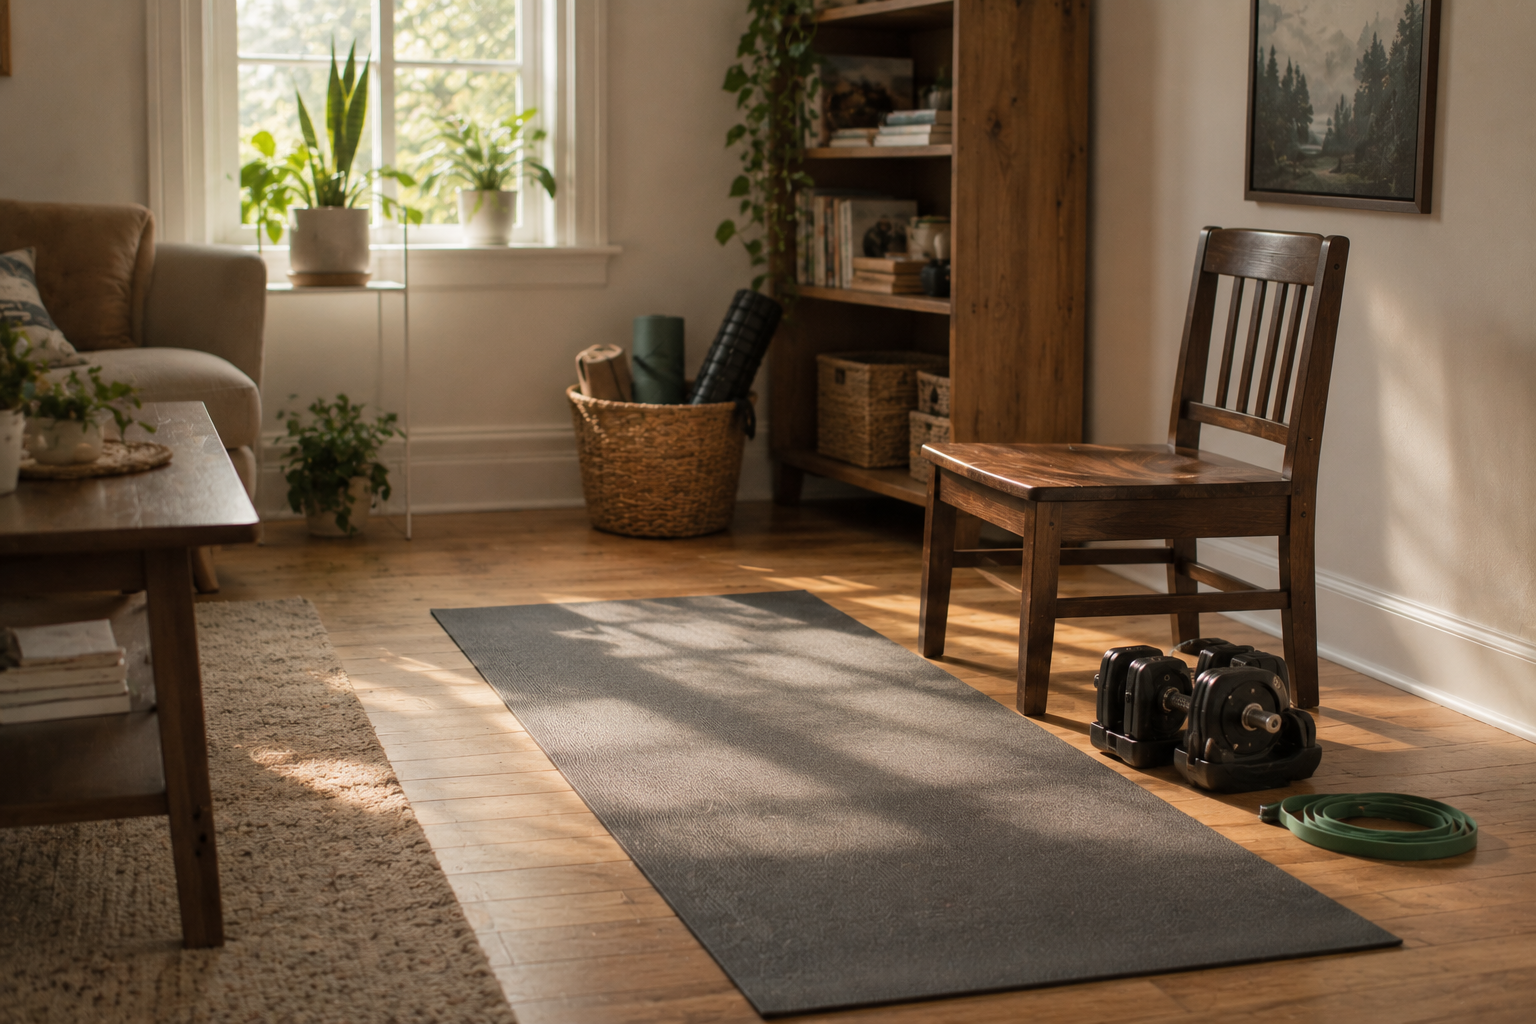
A resistance band, a single adjustable dumbbell (or a backpack you can fill with books), and something roughly knee-height and stable enough to stand on will cover almost every substitution you need. Total cost is usually under the price of a single personal training session.
The Muscles You’re Actually Training
Understanding what each exercise is doing helps you build a session that doesn’t leave gaps.
- Quadriceps (front of thigh): drive knee extension, dominant in squats, lunges, and step-ups.
- Hamstrings (back of thigh): control hip extension and knee flexion, worked by RDLs, curls, and glute bridges.
- Glutes (maximus, medius, minimus): the primary hip extensors and stabilizers, trained by hip thrusts, split squats, and lateral band work.
- Calves (gastrocnemius and soleus): plantar flexors, trained through standing and seated calf raises.
- Adductors and abductors (inner and outer thigh): stabilize the hip and knee during single-leg movement, often neglected until they get exposed by unilateral training.
A study by Topçu and colleagues examined how unstable surfaces (a BOSU ball, a Swiss ball, and a suspension trainer) affected muscle activation across the rectus femoris, vastus lateralis, vastus medialis, biceps femoris, semitendinosus, and gluteus maximus during the Bulgarian split squat in football players. The takeaway that matters for a home trainee isn’t which surface is “best,” it’s that the Bulgarian split squat itself, done on stable ground with just a chair for foot elevation, already recruits a wide spread of quad, hamstring, and glute tissue in one movement. That’s part of why it functions so well as a rack-free stand-in for the back squat.
Exercise Library: Form Cues for Every Move
Knowing the name of an exercise is not the same as knowing how to do it well. Here are the cues that matter most for each move in this guide, the ones that separate a session that builds strength from one that just burns time.
Tempo Goblet Squat
Hold a dumbbell, kettlebell, or a loaded backpack against your chest with both hands. Feet roughly shoulder width, toes turned out slightly. Lower under control for a full 3 to 4 seconds, keeping your chest tall and your knees tracking over your toes rather than caving inward. Aim to get your hip crease at or below knee level if your mobility allows it, then drive back up through the whole foot, not just the toes. The weight held in front acts as a counterbalance that makes it easier to sit deep without falling backward, which is part of why this variation is often easier to learn than an unloaded bodyweight squat.
Bulgarian Split Squat
Stand roughly two feet in front of a sturdy chair or low bench, facing away from it, and rest the top of one foot on the seat behind you. Lower your back knee toward the floor by bending the front knee, keeping most of your weight through the front heel. Your torso can lean forward slightly, which shifts more work onto the glutes and hamstrings, or stay upright, which shifts more work onto the quads. Both are valid depending on what you’re training that day. This is usually the hardest single exercise in a no-rack leg session, so it’s worth placing it early, right after your warm-up and main bilateral lift, while your legs are freshest.
Walking Step-Up
Choose a step, stair, or platform at a height where your thigh is roughly parallel to the floor when your foot is planted on it, usually somewhere between knee and mid-thigh height for most people. Drive up through the working leg’s heel until you’re standing fully on top, resisting the urge to push off the trailing leg. Step down with control rather than dropping. Increasing the height of the step is one of the simplest ways to make this harder without adding any weight at all.
Single-Leg Romanian Deadlift
Holding a dumbbell or a filled water jug in the hand opposite your standing leg, hinge forward at the hips while your free leg extends straight back behind you, keeping your torso and rear leg roughly in one line. Your standing knee stays soft, not locked and not deeply bent. Go only as low as you can while keeping your back flat and your hips square. This move trains the hamstrings and glutes eccentrically and doubles as a balance and hip-stability drill, which carries over directly into every other single-leg exercise in this guide.
Glute Bridge and Hip Thrust
Lie on your back with knees bent, feet flat on the floor about hip width apart. Drive through your heels to lift your hips until your body forms a straight line from shoulders to knees, squeezing the glutes hard at the top rather than arching through the lower back to get there. For the harder hip thrust variation, rest your upper back against the edge of a couch or bench so your hips can travel through a longer range of motion. Adding a loop band just above the knees increases glute medius activation and helps prevent the knees from drifting inward.
Standing Single-Leg Calf Raise
Stand on the edge of a stair with your heel hanging off the back, holding a wall or railing for balance. Lower your heel below the level of the step to get a full stretch, then rise as high onto the ball of your foot as you can. Calves respond well to higher rep ranges and full range of motion, so don’t rush this one just because it’s the last exercise on the list.
Sliding or Nordic-Style Hamstring Curl
For a sliding curl, lie on your back with your heels on a towel placed on a hardwood or tile floor, knees bent. Lift your hips into a bridge position, then slide your heels away from your body by extending your knees, keeping your hips elevated throughout, before sliding them back in. For a Nordic-style curl, kneel on a cushion with your ankles anchored under something heavy (a couch, or a partner holding your ankles), and lower your torso forward as slowly as you can, catching yourself with your hands at the bottom. Both are advanced hamstring moves that target the muscle in ways squats and lunges largely miss.
Step-by-Step: Structuring a No-Rack Leg Session
Step 1: Warm Up (5-8 minutes)
Start with something that raises heart rate and loosens the hips and ankles: bodyweight squats, walking lunges, leg swings, and ankle circles. This isn’t optional filler. Cold hip flexors and stiff ankles are where form breaks down on single-leg work.
Step 2: Primary Bilateral Strength Move
Pick one two-legged movement to anchor the session: a tempo goblet squat or a heels-elevated squat. Even without heavy external load, slowing the descent to 3-4 seconds and pausing at the bottom for a second or two dramatically increases time under tension, which is one of the main levers you have for building strength without a barbell.
Step 3: Unilateral (Single-Leg) Work
This is where a chair replaces the rack. Bulgarian split squats, rear-foot-elevated, are the workhorse here. Step-ups onto a stable surface at roughly knee height are the second option, and they double as a mild cardio stimulus if you keep the pace brisk.
Step 4: Posterior Chain (Hamstrings and Glutes)
Single-leg Romanian deadlifts, glute bridges, and hip thrusts round out the back of the leg, which bilateral squat-pattern moves alone tend to under-train. If you have a slippery floor and a towel, sliding hamstring curls (lying on your back, heels on the towel, sliding your feet toward your glutes as you lift your hips) are a genuinely tough finisher.
Step 5: Calves
Standing calf raises off the edge of a stair, single-leg if you want more challenge, cover what a calf raise machine would otherwise do.
Step 6: Cool Down
Finish with 5 minutes of static stretching for the quads, hamstrings, hip flexors, and calves. This won’t dramatically change soreness the next day, but it’s a low-cost habit that supports long-term joint mobility.
Sample No-Rack Leg Session (about 40 minutes)
- Warm-up: 5 min bodyweight squats, lunges, leg swings
- Tempo goblet squat: 4 sets x 8-10 reps (3-second lowering phase)
- Bulgarian split squat: 3 sets x 8-12 reps per leg
- Walking step-ups: 3 sets x 10 reps per leg
- Single-leg Romanian deadlift: 3 sets x 8-10 reps per leg
- Glute bridge or hip thrust: 3 sets x 12-15 reps
- Standing single-leg calf raise: 3 sets x 12-15 reps per leg
- Cool-down stretch: 5 min quads, hamstrings, calves, hip flexors
Progressive Overload Without a Single Plate
The most common reason home leg programs stall isn’t lack of equipment, it’s lack of progression. Bodyweight squats stop being a stimulus once your legs adapt, usually within a few weeks. You have several honest ways to keep making it harder:
- Add external load. A loaded backpack, a filled duffel bag, or a couple of dumbbells held at your sides turns any bodyweight move into a loaded one.
- Slow the tempo. A 4-second lowering phase with a 2-second pause at the bottom is punishing even at bodyweight only.
- Reduce base of support. Moving from a two-leg squat to a split squat to a single-leg squat variation increases demand without adding a gram of external weight.
- Increase range of motion. Elevating your front foot slightly, or your rear foot on a Bulgarian split squat, deepens the stretch and the work required to come back up.
- Shorten rest periods. Dropping rest from 90 seconds to 45-60 seconds between sets raises the metabolic demand of the same exercises.
- Use bands for accommodating resistance. A loop band around the thighs during squats and bridges adds constant lateral tension that free bodyweight can’t replicate.
Mayo Clinic’s guidance on strength training notes that a single set of 12 to 15 repetitions performed with proper form and enough resistance to challenge the muscle can build strength efficiently for most people, and that all major muscle groups should be trained at least twice weekly, with a rest day between sessions targeting the same muscle group. That’s a low bar to clear at home: two or three well-structured leg sessions a week, each running 30 to 45 minutes, is enough to see real change over a few months.
A Simple 4-Week Progression
Week-by-Week Loading Plan
Week 1 — Groove the pattern. Bodyweight only, focus on full range of motion and control. 2 leg sessions.
Week 2 — Add tempo. Same exercises, slow the lowering phase to 3-4 seconds on the main lifts. 2-3 sessions.
Week 3 — Add load. Introduce a loaded backpack or dumbbells on split squats and step-ups. 2-3 sessions.
Week 4 — Add volume or reduce rest. One extra set per exercise, or cut rest periods by 15-20 seconds. Reassess reps and form before repeating the cycle at a harder load.
Common Mistakes That Stall Home Leg Training
Skipping single-leg work entirely
Two-legged squats alone leave strength and stability gaps between limbs untouched. Split squats and step-ups close that gap and also tend to expose which leg is genuinely weaker, information a barbell squat rarely gives you.
Never adding load
Bodyweight training has a ceiling. If air squats have stopped being difficult, that’s the signal to add a backpack, slow the tempo, or move to a harder single-leg variant, not a reason to add more reps indefinitely.
Rushing through reps
Momentum does a lot of the work when reps are fast. Controlling the lowering phase keeps tension on the muscle where it belongs and reduces the joint stress that comes from bouncing out of the bottom of a squat or lunge.
Ignoring the posterior chain
Squats and lunges are quad-dominant. Without deliberate hamstring and glute work like RDLs, bridges, and hip thrusts, you can end up with a strength imbalance between the front and back of the leg that raises the risk of strain during sprinting, hiking, or sudden direction changes.
Training through joint pain
Muscle fatigue and mild soreness are normal. Sharp joint pain is not. Stop the exercise, regress to an easier variation, and check in with a physical therapist or doctor if pain persists beyond a couple of days or worsens with movement.
Frequently Asked Questions
Can you actually build muscle in your legs without a squat rack?
Yes. Muscle growth responds to mechanical tension, enough reps taken close to fatigue, and progressive overload over time. A rack is one tool for creating that tension, but split squats, step-ups, tempo work, and loaded bodyweight movements can create the same stimulus, particularly for people who aren’t already advanced lifters working with very heavy absolute loads.
How many days a week should I train legs at home?
Two to three sessions a week is a solid target for most people, in line with general strength training guidance from the CDC and Mayo Clinic calling for muscle-strengthening work on all major groups at least twice weekly, with a rest day between sessions hitting the same muscles.
What can replace a squat rack for loading squats?
A single dumbbell held goblet-style at your chest, two dumbbells at your sides, or a loaded backpack worn like a rucksack all work. For higher loads, holding weight in each hand (a suitcase-style carry) lets you load a squat well past what most home setups can offer with a single dumbbell alone.
Is the Bulgarian split squat really a good substitute for the back squat?
It’s one of the closest single-leg substitutes available. Research on the exercise, including work examining muscle activation across the quadriceps, hamstrings, and glutes during the movement, supports it as a serious quad and glute stimulus, and it adds a single-leg stability demand that a back squat doesn’t provide.
Do I need a resistance band, or can I skip it?
You can build an effective program without one, but a band is inexpensive and adds two things bodyweight training struggles to replicate on its own: constant tension through the full range of motion and lateral resistance for glute medius and hip stability work. It’s a reasonable low-cost addition, not a requirement.
How long before I notice strength improvements?
Many people notice improved control and slightly easier reps within two to four weeks, largely from neuromuscular adaptation rather than added muscle mass. Visible muscle changes generally take longer, often eight weeks or more of consistent training, and vary a good deal between individuals.
Is it safe to train legs at home if I have knee or hip issues?
Bodyweight and single-leg training can be a gentler entry point than heavy barbell work, but any existing joint condition warrants a conversation with a doctor or physical therapist before starting a new program. They can advise on which movements to avoid or modify.
References
- Centers for Disease Control and Prevention, “Physical Activity Guidelines for Adults” — cdc.gov/physical-activity-basics/guidelines/adults.html
- NHS, “Strength Exercises” — nhs.uk/live-well/exercise/strength-exercises
- NHS, “Gym-Free Exercises” — nhs.uk/live-well/exercise/gym-free-exercises
- Mayo Clinic, “Strength Training: Get Stronger, Leaner, Healthier” — mayoclinic.org/healthy-lifestyle/fitness/in-depth/strength-training
- Topçu et al., “Effects of Rear-Foot Instability Devices on Lower-Limb Muscle Activation During the Bulgarian Split Squat in Male Football Players” (2025), indexed on PubMed
- Janzen, Chilibeck & Davison, “The Effect of Unilateral and Bilateral Strength Training on the Bilateral Deficit and Lean Tissue Mass in Post-Menopausal Women” (2006), indexed on PubMed
- Beurskens et al., “Effects of Heavy-Resistance Strength and Balance Training on Unilateral and Bilateral Leg Strength Performance in Old Adults” (2015), indexed on PubMed