

























By Priya Nandakumar
Open any app store and search “home workout” and you’ll get thousands of results within seconds, most of them promising the same vague thing: get fit, at home, on your schedule. The promises sound interchangeable, but the apps behind them are not. Some are built around strength progression and barbell math. Others are built around dance cardio, breathing cues, or a leaderboard that pings you if you miss a day. Picking the wrong one doesn’t just waste a subscription fee, it wastes the harder resource: the motivation you had on day one.
This guide walks through a practical, step-by-step way to match a home workout app to your actual goals, equipment, schedule, and personality, rather than to whichever app has the flashiest onboarding video. It draws on current public health guidance from the CDC, WHO, and NHS, along with behavioral research on habit formation, so the framework is grounded in something more solid than marketing copy.
Why the Right App Match Matters More Than the Workout Itself
Most structured workout programs, if followed consistently, will move the needle on strength, cardiovascular fitness, or mobility. The variable that actually determines results isn’t which program has the “best” science behind it. It’s whether you keep showing up. Research from University College London, led by health psychologist Phillippa Lally, found that it takes an average of 66 days for a new behavior to become automatic, with consistency mattering more than perfection: missing a single session didn’t derail habit formation, but irregular, inconsistent practice did.
That finding has a direct implication for app selection. An app that’s technically excellent but that you dread opening will lose to a mediocre app you actually enjoy, simply because the second one survives past week three. Choosing a home workout app is really an exercise in choosing a system you can sustain for two months without white-knuckling it.
“It takes an average of 66 days for a new habit to become automatic, and consistency, not intensity, is what predicts whether it sticks.”
Based on habit-formation research from University College London (Lally et al., European Journal of Social Psychology)
With that framing in mind, here is the step-by-step process for narrowing the field.
Step 1: Define Your Primary Fitness Goal, Not Three at Once
Almost every workout app claims to do everything: build muscle, burn fat, improve flexibility, and reduce stress, all in twenty minutes a day. In practice, apps are built around a dominant training philosophy, and that philosophy shows up in how workouts are structured, sequenced, and progressed. Before comparing apps, get specific about what you’re actually optimizing for over the next three to six months.
If your goal is strength and muscle
Look for apps built around progressive overload: programs that track your working weights or resistance level and systematically increase demand over weeks, not just apps that offer “strength-style” workouts as one category among many. You want rep and set tracking, rest-timer logic, and ideally a visible progression scheme (linear, undulating, or block periodization) rather than a random daily workout generator.
If your goal is cardiovascular fitness or weight management
Prioritize apps that let you track intensity, whether through heart rate integration, perceived exertion prompts, or interval timers, and that offer variety to prevent boredom over months of use. The CDC recommends adults get at least 150 minutes of moderate-intensity aerobic activity per week, or 75 minutes of vigorous-intensity activity, so an app that helps you accumulate and see that weekly total is more useful than one that only shows single-session stats.
If your goal is mobility, flexibility, or general health maintenance
Look for apps with structured stretching or mobility routines tied to specific goals (hip mobility, shoulder health, lower back relief) rather than generic “flexibility” filler content. Slower-paced, instruction-heavy apps tend to serve this goal better than high-intensity interval formats.
If you’re returning to exercise after a break or injury
Favor apps with clear beginner tracks, modification options shown on screen (not buried in a separate tab), and low-impact alternatives built into the program itself. If you have a pre-existing health condition, a recent injury, or you’re pregnant, talk to a doctor or physical therapist before starting any new exercise program, app-guided or otherwise. No app substitutes for individualized medical clearance.
Step 2: Take an Honest Look at Your Current Fitness Level
The gap between “beginner,” “intermediate,” and “advanced” labels varies wildly across apps, and choosing a program pitched above your current level is one of the most common reasons people quit within the first two weeks. If an app’s demo workout leaves you sore for four days or too discouraged to open the app again, the fit is wrong, regardless of how good the production quality is.
A useful gut check before committing to any app: can you currently do a modified push-up, hold a plank for 20 to 30 seconds, and walk briskly for 20 minutes without stopping? If yes, most “beginner” tracks in mainstream apps will feel appropriately challenging. If any of those feel difficult, look specifically for apps that offer a true “absolute beginner” or “foundations” tier, not just a beginner label on otherwise standard content.
Also consider how the app handles bad days. Life interrupts training plans constantly, through illness, travel, or simple fatigue. Apps that offer adjustable intensity or the option to swap a workout for a shorter or gentler version tend to produce better long-term adherence than rigid, all-or-nothing programs.
Step 3: Decide What Equipment You Actually Have (and Want)
Equipment mismatch is a quiet reason many home workout apps get abandoned. Someone downloads an app, discovers week two requires a set of dumbbells and a bench they don’t own, and the momentum stalls right there. Before choosing an app, decide honestly which category you fall into:
Match Your Equipment Reality to the Right App Type
- No equipment, no space constraints: Choose apps built primarily around bodyweight training, mat work, and calisthenics progressions.
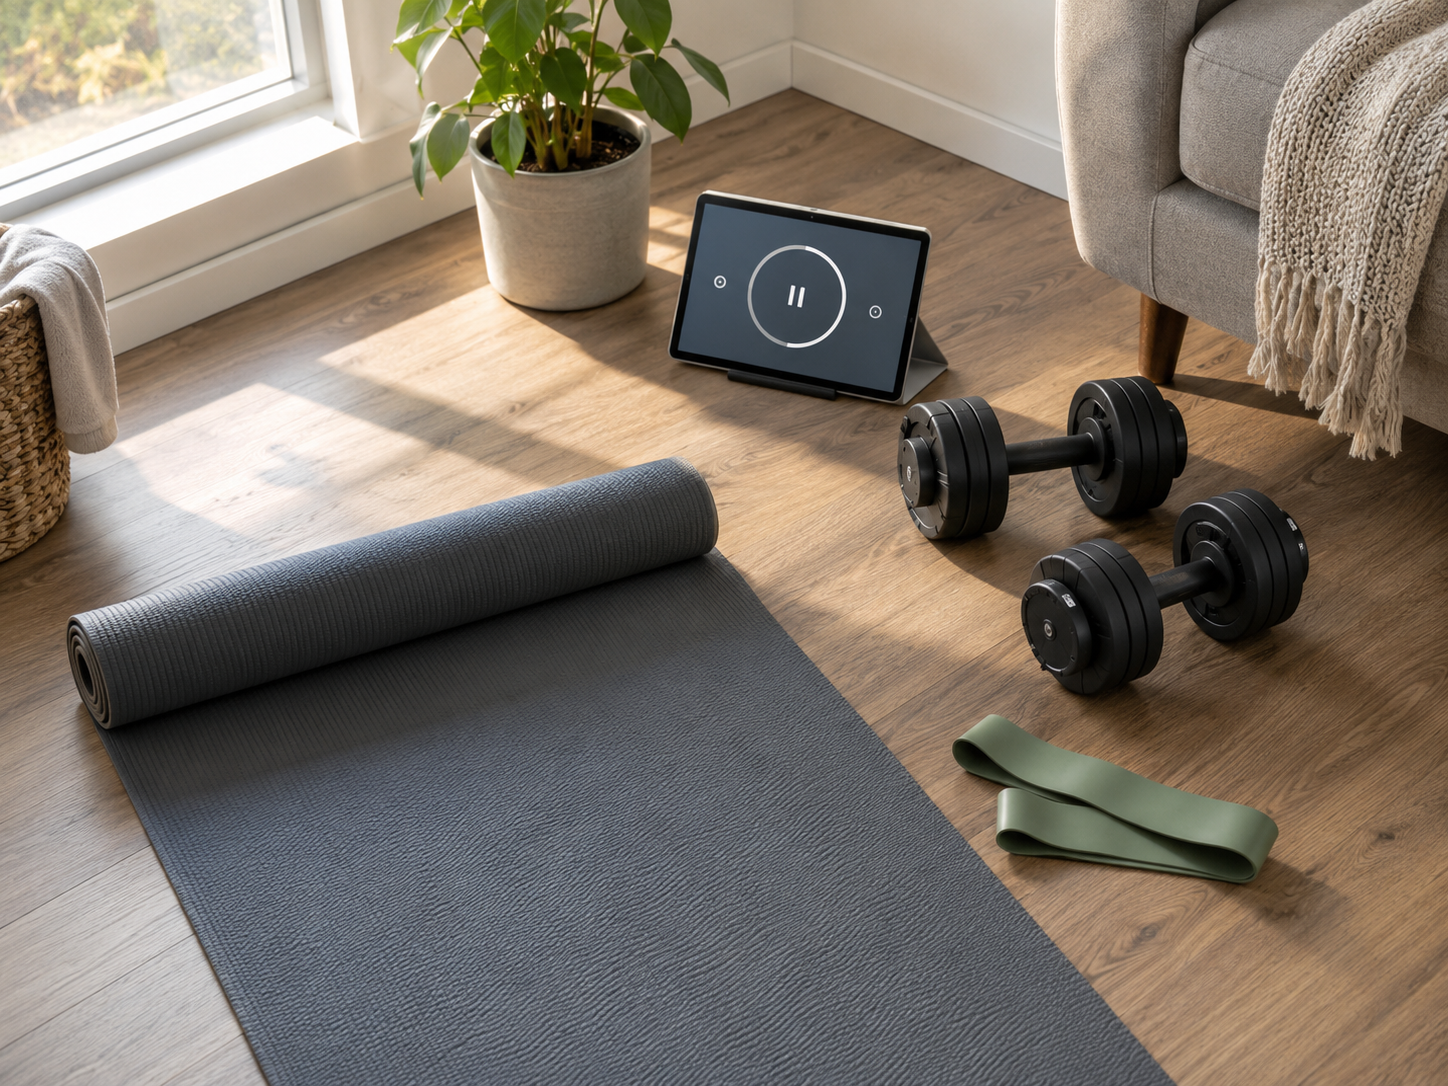
- Minimal equipment (bands, one set of dumbbells, a mat): Look for apps that explicitly filter workouts by available equipment, so you’re not stuck skipping half the plan.
- Full home gym or specific machine (bike, rower, treadmill): Prioritize apps built for that hardware, since generic apps rarely program intelligently around a single piece of equipment.
- Undecided, might buy equipment later: Choose an app with a flexible equipment filter you can adjust over time, rather than committing to gear-specific programming now.
If you’re not sure yet, start with a bodyweight-first app. It’s the lowest-friction way to build the habit before adding equipment logistics into the mix.
Step 4: Compare Coaching Styles
This is where home workout apps differentiate the most, and where personal preference matters as much as programming quality. Broadly, most apps fall into one of four coaching styles.
None of these styles is objectively superior. The honest question to ask is which one matches how you already behave. If you’ve thrived on deadlines and scheduled commitments before (work meetings, classes, appointments you show up to), a live-class app will likely outperform a self-paced library for you. If you’re self-directed and dislike being tied to a clock, a structured plan-based app with flexible timing is probably the better fit.
Step 5: Check How the App Handles Progression
A workout app that gives you the same difficulty level indefinitely will plateau your results and, often, your motivation along with them. Before subscribing, look for clear signals that the app adjusts over time:
- Does it ask you to log weights, reps, or perceived difficulty, and does it use that data to adjust future sessions?
- Is there a visible multi-week or multi-month plan structure, or is every day an isolated, unconnected workout?
- Does it offer a way to retest fitness benchmarks (a timed run, a max push-up count, a strength test) so you can see change over time?
- Can you scale a single workout up or down in real time if it’s too easy or too hard that day?
Apps without any of these features aren’t necessarily bad, they can still deliver a good single workout. But if long-term progress is your goal rather than simply “moving today,” progression logic is one of the most important things to check before you pay for a subscription.
Step 6: Weigh Community and Accountability Features
For some people, a private, quiet app experience is exactly right. For others, seeing a friend’s completed workout, joining a group challenge, or having a coach check in makes the difference between finishing week one and finishing month six. Neither preference is wrong, but it’s worth being honest about which one describes you before you choose an app built around the opposite assumption.
Community features worth checking for if accountability matters to you: friend or family connections within the app, shared challenges or leaderboards, the ability to share completed workouts, and any option to work with a human coach rather than only an algorithm. If you know you do better with quiet, private routines, these same features can become noise, so a simpler, streak-and-stats-only app may serve you better.
Step 7: Scrutinize Pricing, Trial Terms, and Cancellation
Home workout apps range from free with ads, to modest monthly subscriptions, to premium tiers bundled with connected hardware. Cost alone shouldn’t decide the choice, but the terms around cost deserve real scrutiny, especially since many apps use free trials that auto-convert to paid annual plans.
Before You Enter Payment Details, Confirm:
- The exact date the free trial ends and how you’ll be reminded
- Whether cancellation happens in-app or requires contacting a separate billing portal (a common friction point with app-store subscriptions)
- Whether the annual plan is refundable if you cancel a few weeks in
- Whether family or multi-user pricing exists if others in your household might use it
- Whether core workouts are locked behind a paywall or accessible in the free tier so you can genuinely test the app first
A reasonable rule of thumb: don’t commit to an annual plan until you’ve used the app consistently for at least two to three weeks on a free trial or month-to-month basis. Annual pricing looks attractive on paper, but it only pays off if you actually use the app past the honeymoon phase.
Step 8: Run a Real Test Drive Before You Commit
Reading reviews and comparing feature lists only gets you so far. The most reliable way to know if an app fits is to actually train with it for a short, defined period and pay attention to specific signals, not just whether the workouts were “hard enough.”
Your 7-Day App Test Drive Checklist
That last question carries more weight than any feature comparison. An app you’re mildly reluctant to open on day seven of a trial is unlikely to survive the harder weeks of month two or three.
Red Flags to Watch For
A few warning signs are worth taking seriously before you commit money or time to an app:
- No visible instructor credentials or qualifications. Reputable apps typically disclose who designed the programming, whether that’s certified trainers, physical therapists, or sports scientists.
- Extreme claims about speed of results. Promises of dramatic transformation in days rather than months are a marketing pattern, not a realistic outcome, and can push you toward unsafe volume or intensity.
- No modification options shown during workouts. If every exercise has only one version with no visible easier or harder variation, injury risk goes up for anyone outside the exact fitness level the workout was filmed for.
- Aggressive upsells mid-workout. Constant prompts to upgrade or buy branded equipment during a session point to a product built around monetization first.
- No way to cancel easily. If cancellation policies are vague, hidden, or require a phone call, treat that as a signal about how the company treats users generally.
Putting It Together: A Quick Decision Framework
If the steps above feel like a lot to hold at once, here is the condensed version you can run through in about ten minutes before downloading anything:
- Write down your single primary goal for the next three months (strength, cardio, mobility, general consistency, or return from a break).
- List the equipment you currently own and are willing to use, being realistic rather than aspirational.
- Pick the coaching style (on-demand, structured plan, live class, or gamified) that matches how you’ve stayed consistent with other habits before.
- Confirm the app shows clear progression logic and modification options.
- Check trial length, cancellation process, and whether an annual plan is actually necessary yet.
- Run the 7-day test drive before paying for anything beyond a free trial.
- Reassess at the one-month mark: are you still opening the app without having to force it?
None of this guarantees a perfect match on the first try, and that’s fine. Trying an app for two or three weeks, learning it isn’t quite right, and switching to a better-fitting one is a completely normal part of the process, not a failure. The goal is finding something sustainable, not something perfect on paper.
What to Do When Your Goals Change
Fitness goals rarely stay fixed for a full year. Someone who started with an app focused on general cardio might discover six months in that they actually want to build strength, or that an old knee issue means they need to shift toward lower-impact mobility work. This is normal, and it’s worth planning for rather than treating as a sign that the original app choice was wrong.
Before switching apps entirely, check whether your current app can flex with you. Many broader platforms offer multiple training tracks under one subscription, so a change in goal might mean picking a different program inside the same app rather than starting over with a new subscription, a new login, and a new interface to learn. That said, if your current app is built narrowly around one training style (pure strength programming, for example) and your new goal points somewhere the app simply doesn’t cover well, switching is the more honest option than forcing a bad fit to work.
A practical habit worth building regardless of which app you choose: revisit your goal statement from Step 1 every eight to ten weeks. Ask whether it still reflects what you want, and whether the app you’re using still serves that goal. This kind of periodic check-in costs a few minutes and prevents months of half-hearted training toward a goal you’ve quietly outgrown.
A Note on Realistic Expectations
It’s worth naming something most app marketing pages leave out: consistent exercise, even with an ideal app, produces gradual change, not overnight transformation. Strength gains, meaningful cardiovascular improvement, and visible body composition shifts typically unfold over months of consistent training, not days or single weeks. An app’s job is to make that gradual process easier to sustain, structured, and reasonably enjoyable. It cannot compress the underlying physiology.
This matters for app selection because apps that lean heavily on urgency and dramatic before-and-after marketing often set expectations that collide with reality within the first few weeks, which is itself a common reason people abandon a program early. Favoring apps with a more grounded tone, clear beginner pathways, and honest timelines tends to correlate with better long-term outcomes than chasing the app promising the fastest results.
Frequently Asked Questions
Do I need expensive equipment to get real results from a home workout app?
No. Bodyweight training can build meaningful strength and cardiovascular fitness, particularly for beginners and intermediate exercisers. Many well-designed apps program effective full-body sessions using nothing more than a mat and floor space. Equipment becomes more relevant as you advance and need heavier resistance to keep progressing, but it isn’t a requirement to start.
How much weekly exercise should I actually be aiming for?
Public health guidance from the CDC and WHO both point to at least 150 minutes of moderate-intensity aerobic activity per week (or 75 minutes of vigorous activity), plus muscle-strengthening activity on at least two days per week. That’s a general population target, not a strict prescription, and any amount of activity is better than none if you’re starting from a sedentary baseline. A good app should help you track progress toward that weekly total rather than only showing single-day stats.
Is it normal to feel unmotivated even with a good app?
Yes. Motivation naturally fluctuates, and behavioral research suggests that habit formation, not motivation, is what carries people through the weeks when enthusiasm dips. That’s part of why picking an app that fits your schedule and preferences matters so much: on low-motivation days, a good app-goal fit reduces the friction of starting, even when you don’t especially feel like training.
Should I choose an app based on what my friends or influencers use?
Social proof can point you toward well-reviewed apps, but fit is personal. An app that works well for someone with different equipment, a different schedule, a different starting fitness level, or a different personality around accountability may not translate to your situation. Use recommendations as a starting shortlist, then run your own short test drive before committing.
Can a workout app replace working with a doctor or physical therapist?
No. Home workout apps can be a useful tool for structuring general fitness activity, but they aren’t a substitute for individualized medical guidance, especially if you have an existing health condition, chronic pain, a recent injury or surgery, or you’re pregnant or postpartum. Talk to a qualified healthcare provider before starting a new exercise program in any of those situations, and stop and seek medical advice if you experience chest pain, dizziness, or unusual shortness of breath during exercise.
How long should I try an app before deciding it’s not working?
Give it a real test: at minimum the 7-day trial outlined above, and ideally three to four weeks, since early soreness and unfamiliarity with a new format can make a genuinely good app feel wrong at first. That said, if you’re dreading every session by the end of week one with no sign of that easing, it’s reasonable to switch rather than force it.
References
- Centers for Disease Control and Prevention, Physical Activity Guidelines for Adults
- World Health Organization, Physical Activity Fact Sheet
- NHS, Physical Activity Guidelines for Adults
- American College of Sports Medicine, Physical Activity Guidelines Resources
- Lally, P., et al., University College London, How Long Does It Take to Form a Habit, European Journal of Social Psychology