



























By Emily Harrison
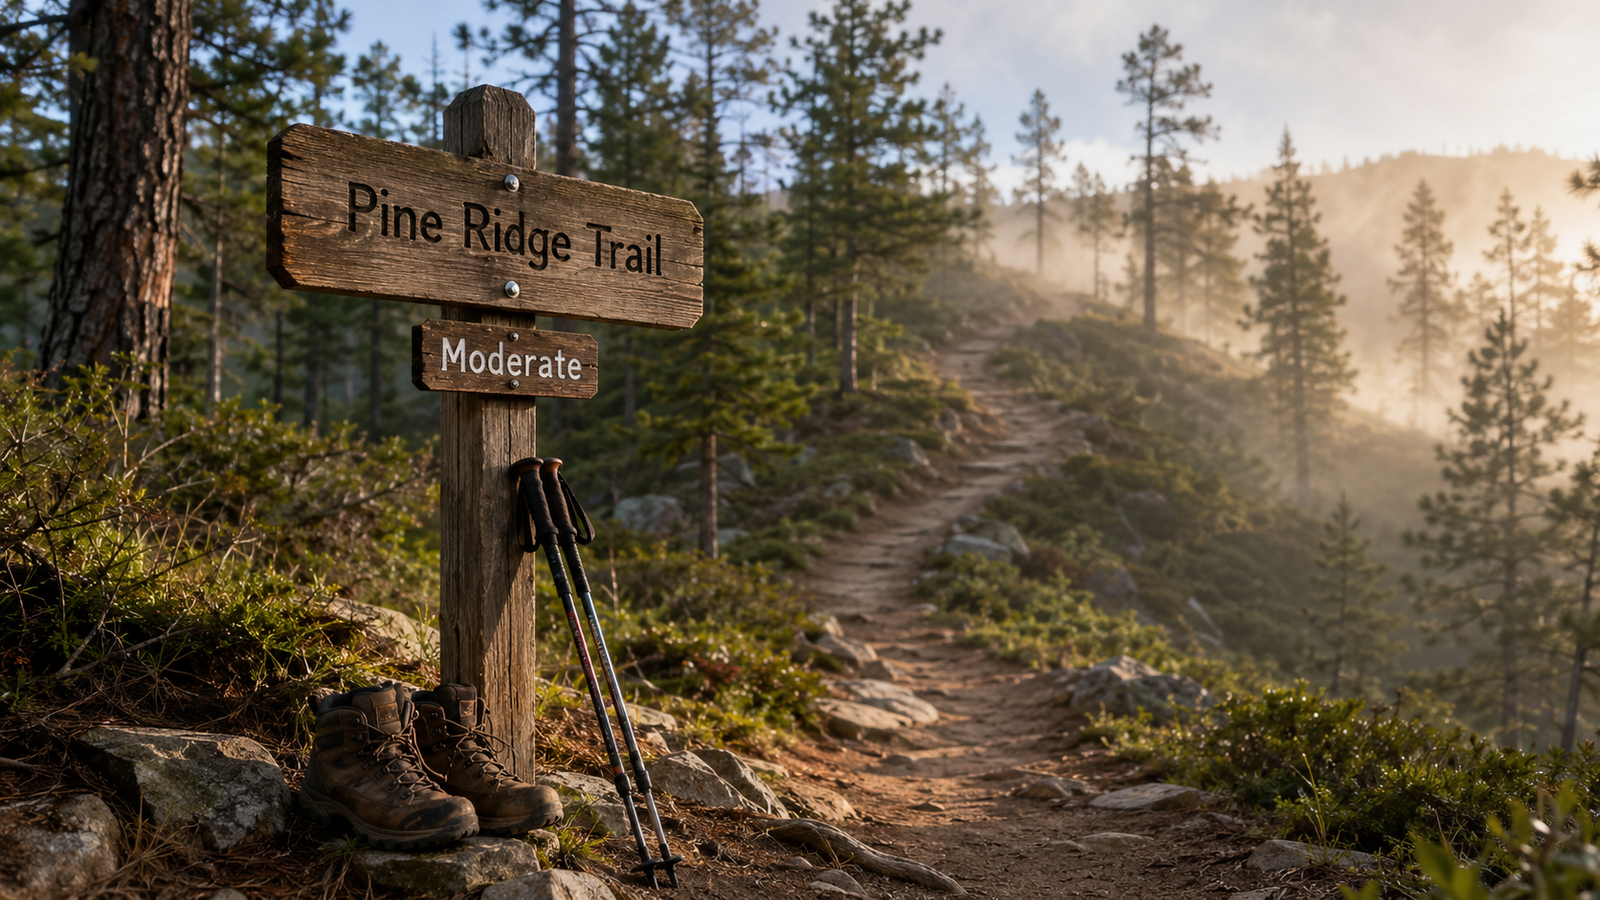
Stand at almost any trailhead and you will find a sign with a word on it: easy, moderate, strenuous, hard, Class 2, Grade 3. That single word feels like it should tell you everything you need to know. It doesn’t. A “moderate” trail in a Utah national park and a “moderate” walk on a British long-distance path can be built from completely different math, and an app’s green “easy” tag might be describing a two-mile stroll or a rocky scramble that happened to get friendly reviews from very fit users. Beginners get hurt, exhausted, or simply miserable not because they ignored the warnings, but because they trusted a label without knowing what was actually behind it.
This guide breaks down the major systems you will actually encounter: the National Park Service’s easy/moderate/strenuous labels, the AllTrails difficulty tag on the app you probably already have open, the Yosemite Decimal System that shows up on route descriptions once trails start involving hands and rock, and the three-grade system used across many UK National Trails. You will also learn the simple math behind distance and elevation gain, what “exposure” and “technicality” mean in practice, and how to build your own quick estimate of pace and effort before you ever leave the parking lot. If you have already read about building a fitness base for hiking or how to find your way when there’s no cell signal, think of this piece as the missing step in between: how to actually read the trail description so you pick something that matches what you are ready for.
Why the Same Word Means Different Things on Different Trails
The core problem is that “difficulty” is not one measurement, it is several stacked together: how far you walk, how much you climb, how rough or exposed the surface is, and how demanding the terrain gets if something goes wrong. Different organizations weigh those four factors differently, and some don’t disclose their weighting at all. A land agency might rate a trail strenuous purely because of a punishing elevation profile, while a crowdsourced app might rate the same trail as only moderately hard because most of the people who logged reviews were experienced hikers for whom the climb barely registered.
“Difficulty ratings are designed for a broad audience, so a trail deemed easy by one person might be moderate for another.” — AllTrails Help documentation
That quote is worth sitting with, because it explains why relying on a single app or a single sign is risky for a beginner. The fix is not to distrust every rating, it’s to understand what each system is actually measuring, then triangulate: check the official park description, glance at the elevation profile, and read a couple of recent trip reports before you commit.
The Yosemite Decimal System: Where “Hiking” Turns Into Something Else
The Yosemite Decimal System, usually shortened to YDS, was built by American climbers to describe how technical a piece of terrain is, and it has quietly become the vocabulary that route descriptions borrow from whenever a hike gets close to scrambling or climbing. It is organized into five classes:
- Class 1: hiking or running on a trail, using your feet only.
- Class 2: simple scrambling, with occasional use of your hands for balance.
- Class 3: scrambling where a rope could reasonably be carried; hands are needed regularly and a fall could cause a real injury.
- Class 4: simple climbing, often with exposure, where a rope is commonly used and a fall could be fatal.
- Class 5: technical roped free climbing, subdivided by decimal grades from 5.0 up through 5.15d, where belaying is standard safety practice.
For a beginner picking a trail, the number that matters most is the line between Class 1 and Class 2, and the line between Class 2 and Class 3. Almost every trail marketed for beginners should stay at Class 1: a defined path where your hands stay in your pockets. If a route description mentions “Class 2” or “some scrambling,” treat that as a signal that the trail includes short sections where you will be using your hands on rock, which changes both the pace you can sustain and the consequences of a slip. Class 3 and above are genuinely a different activity from hiking and are outside the scope of a first trail unless you are with an experienced partner who has scrambling or climbing experience.
National Park Service Labels: Easy, Moderate, Strenuous, and the Math Behind Them
There is no single, park-wide formula that every unit of the National Park Service uses; individual parks publish their own criteria, which is exactly why it helps to know what a couple of them actually look like. Shenandoah National Park publishes one of the more transparent approaches, converting distance and elevation gain into a single number: “Elevation Gain x 2 x distance (in miles). The product’s square root is the numerical rating.” The park then sorts hikes into bands: under 50 is “Easiest,” 50 to 100 is “Moderate,” 100 to 150 is “Moderately Strenuous,” 150 to 200 is “Strenuous,” and anything above 200 is “Very Strenuous.”
Zion National Park takes a more descriptive approach and ties its labels directly to real trail examples. According to the park’s own trail descriptions, easy hikes “range from 0.4 miles to 3.5 miles and gain no more than 100 feet in elevation,” moderate hikes “range from 1 mile to 7.6 miles and have larger elevation gains,” and strenuous hikes “range from 2.5 miles to 9.4 miles and have elevation gains of up to 2,148 ft,” often including exposed terrain and sections with safety chains. Notice how wide those distance ranges are: a strenuous Zion trail can be shorter in miles than a moderate one, because the elevation gain and terrain do the heavy lifting in the rating, not the mileage alone.
California State Parks uses a simpler, purely length-based rule of thumb: easy trails run “1-2 miles with easy terrain and little elevation gain,” moderate trails run “2-4 miles with moderate terrain and some elevation change,” and challenging trails are “4 or more miles OR varying terrain.” That “OR” is worth noticing, since it means a short trail with rough, uneven footing can still land in the hardest category even though the distance sounds beginner-friendly.
The practical takeaway is that a “moderate” sign at one park and a “moderate” sign at another are not calibrated against each other. When you’re new to a trail system, read past the single word and look for the actual distance and elevation numbers the park lists next to it.
How AllTrails Actually Decides “Easy,” “Moderate,” and “Hard”
Because AllTrails is probably the tool most beginners open first, it is worth being direct about how its rating works: it is not a fixed formula applied uniformly to every trail. According to AllTrails’ own help documentation, “AllTrails members have the ability to rate and designate the difficulty rating for trails on our platform,” meaning the label you see is a compiled, crowdsourced opinion rather than an output of a distance-and-elevation calculation. The platform does note that specific terrain features change the outcome: “Features such as scrambles, rock climbing, obstacles, uneven ground, or trails that require orienteering skills will affect the difficulty level.”
This matters for two reasons. First, a trail’s rating can shift over time as more people log hikes and add reviews, particularly after storm damage, erosion, or a trail reroute changes the actual difficulty on the ground. Second, the community skew matters: a trail popular with experienced trail runners may get rated “moderate” by people for whom it barely counts as effort, while the same trail could feel genuinely hard to someone hiking their first few miles. Use AllTrails for its real strengths, recent photos, elevation profile charts, and current trip reports, but don’t treat the single-word rating as a substitute for checking the numbers yourself.
UK National Trail Grading: A Different Vocabulary Entirely
Cross the Atlantic and the labels change shape again. Long-distance path grading commonly used across British walking routes divides trails into three grades based primarily on the physical condition and surface of the path rather than a distance-and-elevation formula: Grade 1 covers “an easy walk on pavement or well maintained paths,” Grade 2 involves “some difficult paths,” and Grade 3 features a “poorly maintained path or tracks.” Notice what is missing compared to the American systems: there is no explicit numeric elevation threshold baked into the grade itself. Terrain condition, footing, and how well-marked the route is carry more weight than pure climbing math.
If you are planning a walking holiday on a UK National Trail after mostly hiking rated American trails, don’t assume the words map one-to-one. A UK “Grade 2” path might have very little elevation gain but still earn its grade because of muddy, uneven, or poorly signed ground, conditions an American elevation-based formula would barely register but that genuinely slow down and tire out an unprepared walker.
Comparing the Systems Side by Side
Here is how the major systems line up against each other, so you can translate between them when a trail description uses a vocabulary you’re not used to.
| Rating System | Difficulty Labels | What It’s Based On | Rule of Thumb | Best Used For |
|---|---|---|---|---|
| US National Park Service (park-specific) | Easy / Moderate / Strenuous (some add Very Strenuous) | Distance plus cumulative elevation gain, sometimes terrain and exposure | Shenandoah score: square root of (gain x 2 x distance); Zion strenuous trails gain up to 2,148 ft | Reading official warnings before you commit to a park hike |
| AllTrails | Easy / Moderate / Hard | Crowdsourced hiker ratings, adjusted for scrambles, obstacles, orienteering | No published numeric formula; skewed by who logs the trail | Recent photos, trip reports, and elevation charts, not the label alone |
| Yosemite Decimal System | Class 1 through Class 5 (5.0-5.15d for roped climbing) | Type of movement required: walking, scrambling, roped climbing | Class 1 stays hiking; Class 3 and above commonly involves real exposure | Judging whether a route description is still describing a hike |
| UK National Trail Grading | Grade 1 / Grade 2 / Grade 3 | Path surface, maintenance, and how well the route is marked | Grade 1 is pavement or well-maintained path; Grade 3 is poorly maintained track | Planning long-distance walking routes across Britain |
Elevation Gain Per Mile: A Quick-Reference Box
Distance alone tells you almost nothing about effort. A flat four-mile loop and a four-mile trail that climbs a mountain are entirely different undertakings, which is why every serious rating system leans on elevation gain. REI’s expert advice notes a simple, memorable benchmark: “if a trail gains 1,000 feet in one mile, that is considered quite steep.” Use the bands below as a starting reference point, then cross-check against whichever official rating the trail actually carries.
Elevation Gain Per Mile, Beginner Reference
| Under 250 ft / mile | Gentle, rolling grade. Comfortable for most beginners, including a first outdoor hike. |
| 250 to 500 ft / mile | Noticeable, sustained climbing. Manageable with some hiking under your belt. |
| 500 to 1,000 ft / mile | Steep. Approaching REI’s 1,000 ft benchmark for “quite steep” terrain; expect a slower pace and real cardio effort. |
| Over 1,000 ft / mile | Very steep, often mountaineering-style grade. Frequently paired with exposure or loose footing; not a beginner first choice. |
Two formulas turn distance and elevation into a single comparable score instead of two separate numbers. Shenandoah’s approach, described above, takes the square root of gain times two times distance, which keeps extremely long or steep hikes from producing runaway numbers. A second, older approach called the Petzoldt Energy Mile method converts climbing directly into “extra” flat miles: distance in miles, plus elevation gain in feet divided by five hundred. Under that method, a 5-mile hike with 1,500 feet of gain becomes roughly 8 energy miles (5 plus 1,500/500), landing solidly in the “hard” range on scales that treat anything above 8 energy miles that way. You don’t need to memorize either formula, but knowing they exist explains why a short, steep trail and a long, flat one can carry the same difficulty label.
How to Estimate Your Pace Before You Go
Once you know the distance and elevation gain, you can build a rough time estimate instead of guessing. The classic version of this is Naismith’s rule, developed by Scottish mountaineer William Naismith in 1892: “allow one hour per three miles on the map and an additional hour per 2,000 feet of ascent.” It assumes a hiker of reasonable fitness, moving continuously, with no stops for photos, lunch, or blisters, which means real-world hikes typically run longer than the raw formula suggests.
Worked Example: Estimating a 4-Mile Trail With 800 Feet of Gain
Naismith’s rule (moving time only): 4 miles / 3 mph = 1 hour 20 minutes, plus 800 ft / 2,000 ft x 1 hour = 24 minutes. Total: roughly 1 hour 44 minutes of continuous walking.
REI’s beginner-friendly version: using a 3 mph flat pace plus one added hour per 1,000 feet of gain, the same trail becomes 1 hour 20 minutes plus 48 minutes, or about 2 hours 8 minutes.
Add 20 to 30 percent on top of either estimate for breaks, snack stops, photos, and the simple fact that most people are not hiking at a textbook pace for the entire trail. That puts a realistic total for this trail closer to 2.5 to 3 hours.
Mountaineer Eric Langmuir later refined the rule to account for downhill sections: on gentle declines you can subtract a little time, but on steep, technical descents you should actually add time back, since careful footwork downhill is often slower than the climb. For a beginner, the simplest usable version is REI’s: figure your flat-ground pace (roughly 2 to 3 miles per hour depending on fitness and pack weight), then add one hour for every 1,000 feet of elevation gain, then pad the result generously.
Trail Vocabulary: Exposure, Technicality, and Other Words That Change the Story
A trail description can pack a lot of risk into a single adjective. Two terms deserve special attention because they are often understated in casual write-ups even though they matter more than raw mileage.
Exposure
Exposure describes how consequential a fall would be, independent of how technically hard the movement is. A wide dirt path along a cliff edge with no fence can be entirely Class 1 in Yosemite Decimal System terms, easy footing, no hands required, yet still carry serious exposure because a stumble near the edge has severe consequences. This is exactly the kind of factor that a purely distance-and-elevation formula, like Shenandoah’s or Zion’s mileage bands, will not capture on its own. When a route description mentions drop-offs, narrow ridgelines, or “not recommended if afraid of heights,” treat that as a separate warning layered on top of whatever numeric difficulty score the trail carries.
Technicality
Technicality is about how complicated the movement itself is: loose rock, boulder hopping, stream crossings, or sections that require using your hands. This is essentially what the Yosemite Decimal System’s class numbers are measuring. A trail can be low-exposure but highly technical (a rocky creek bed scramble at low elevation) or high-exposure but low-technicality (a smooth, wide path along a ridge). Beginners should be cautious of both, but technicality is generally the more forgiving of the two to build up gradually, since practicing on small, low-consequence scrambles is a reasonable way to develop the skill.
Switchbacks
A switchback is a zigzagging turn built into a steep trail so the path climbs at a gentler, more sustainable angle instead of going straight up a slope. A trail description heavy with switchbacks usually signals sustained, well-engineered climbing rather than a short, brutal pitch, which can actually make a high-elevation-gain trail more approachable than the raw numbers suggest, since the grade per step stays more moderate even as the total climb adds up.
Putting It Together: A Simple Framework Before You Pick a Trail
Rather than trusting one source, run any candidate trail through a short checklist. First, find the official distance and elevation gain, ideally from the land manager’s own page rather than a third-party summary. Second, translate that gain into feet per mile using the quick-reference bands above, so you have a feel for the grade independent of the label attached to it. Third, scan the description for exposure or technicality language, cliff edges, scrambling, stream crossings, loose rock, since those words carry weight that a formula alone won’t show. Fourth, run a rough time estimate using Naismith’s rule or REI’s simplified version, and pad it generously. Finally, read one or two recent trip reports, conditions change with weather, season, and maintenance in ways that a static rating never updates in real time.
A trail’s rating is a starting estimate written by someone else’s legs. Your own pace, load, and comfort with exposure are the numbers that actually decide whether a hike goes well.
A Brief Safety Note: When to Turn Back
Even careful research can undersell a trail. Trail conditions shift after storms, ratings lag behind erosion or rerouting, and a system built around averages will not predict how a specific day, with heat, wind, or your own energy level, actually feels on the ground. If a trail is taking noticeably longer than your estimate, if the terrain includes exposure or scrambling that the description didn’t mention, or if you or anyone in your group is struggling more than expected, turning back is not a failure. It is the correct response to new information. Build in a turnaround time before you start (a common approach is deciding you will head back by a set clock time regardless of how far you’ve gotten), carry more water and layers than you think you need, and remember that the summit, viewpoint, or trail’s end will still be there on a day when conditions and preparation line up better.
Frequently Asked Questions
Is a “moderate” trail rating the same everywhere?
No. As shown above, Shenandoah National Park’s “Moderate” label corresponds to a numeric score between 50 and 100 using its own square-root formula, while California State Parks defines “Moderate” as a 2 to 4 mile trail with some elevation change, and AllTrails’ moderate rating is a crowdsourced average rather than a formula at all. Always check the specific distance and elevation numbers behind the word rather than assuming consistency across sources.
How much elevation gain per mile is considered strenuous for a beginner?
Using REI’s benchmark, gaining around 1,000 feet in a single mile counts as quite steep. Most beginners will feel real effort starting around 250 to 500 feet of gain per mile, with anything above 500 feet per mile requiring solid cardio fitness and a slower planned pace.
Can I rely on AllTrails’ difficulty rating alone to plan my first hike?
Treat it as one input, not the final word. AllTrails’ own help documentation confirms ratings come from member submissions rather than a published numeric formula, so recent trip reports, photos, and the trail’s actual elevation profile chart are more reliable than the single-word label by itself.
What is the difference between the Yosemite Decimal System and a park’s easy/moderate/strenuous rating?
Park labels like easy, moderate, and strenuous are usually built from distance and elevation gain, describing cardiovascular effort. The Yosemite Decimal System instead describes the type of movement required, walking versus scrambling versus roped climbing, which is a different axis entirely. A short trail can be low-effort by a park’s mileage-based system but still involve Class 3 scrambling that a distance-based rating never flags.
Why do UK trail grades focus on path surface instead of elevation numbers?
Long-distance path grading commonly used across UK trails is built around how walkable the ground itself is, since much of the British countryside network prioritizes maintained footpaths, stiles, and waymarking over steep alpine-style terrain. Grade 1 through Grade 3 reflects surface and maintenance condition rather than a distance-and-elevation formula, which is why translating a UK grade into an American mileage-based label isn’t a direct conversion.
Is it safe to use Naismith’s rule to plan exactly how long a hike will take?
Naismith’s rule gives a useful starting estimate, not an exact prediction. It was designed around continuous, reasonably fit walking with no stops, so real hikes, especially for beginners carrying gear, taking photos, or hiking in a group, generally take meaningfully longer. Pad any Naismith-based estimate by at least 20 to 30 percent, and use REI’s simplified one-hour-per-1,000-feet version if you want a more conservative baseline.
References
- National Park Service, Shenandoah National Park: How to Determine Hiking Difficulty
- National Park Service, Zion National Park: Zion Canyon Trail Descriptions
- AllTrails Help: Difficulty Ratings on AllTrails
- Wikipedia: Yosemite Decimal System
- Wikipedia: Trail Difficulty Rating System
- Wikipedia: Naismith’s Rule
- REI Expert Advice: Hiking for Beginners
- California State Parks: Trail Difficulty Ratings