





















By Rowan P. Briarwick
A suspension trainer is one of the few pieces of exercise equipment that can turn a spare corner, a cleared-out closet doorway, or a 6-by-6-foot rental bedroom into a genuine strength training station. Two straps, a set of handles or foot cradles, and one solid anchor point are all it takes. But owning one and programming it well for a small room are two different skills. Most of the workouts published for suspension trainers assume a home gym with 10 feet of clearance in every direction, a pull-up bar, and enough floor space to lunge, jump, and sprawl. That is not what most apartment dwellers, dorm residents, or anyone training in a converted closet actually has.
This guide is built around the opposite assumption: you have a small room, a single anchor point, and maybe 4 to 6 feet of usable floor space. Below is a practical framework for setting up a suspension trainer safely in that footprint, a set of programming principles that substitute angle and tempo changes for the loading and lateral movement you would use in a bigger space, and a sample progression you can run for a full month.
What a Suspension Trainer Actually Needs From a Room
Before programming anything, the room has to pass a basic safety check. A suspension trainer relies entirely on a single anchor point holding your bodyweight, sometimes with added momentum from swinging or dynamic movement, so the anchor matters more than the size of the room.
Anchor point requirements
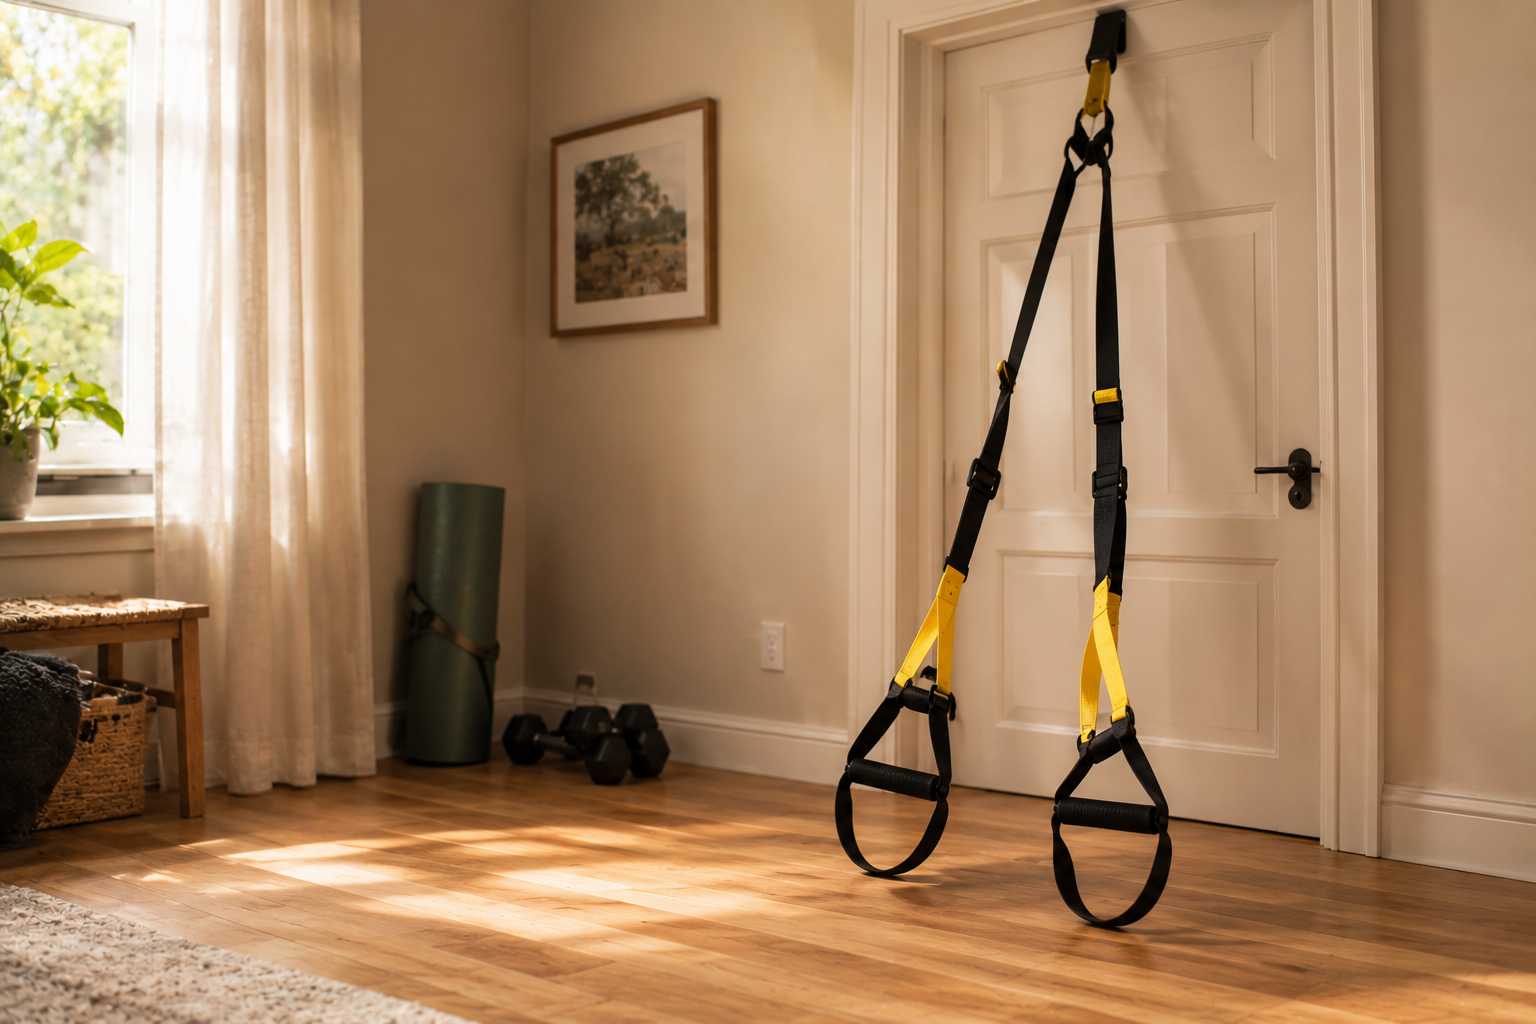
A functional anchor point needs to be rated for the load, positioned high enough that the straps clear the floor at their shortest setting, and structurally sound rather than just conveniently located. A closet rod, a curtain rail, or a light fixture is not an anchor point, no matter how tempting it looks. Door anchors are the standard small-room solution: a webbing strap or door anchor attachment goes over the top of a closed, solid-core door, with the straps running through to the exercise side. The door itself needs to open away from you and be a solid door (not a hollow interior door prone to flexing) set in a frame that is actually attached to the wall studs.
Height clearance
Most suspension trainers need roughly 7 to 8 feet of overhead clearance from anchor to floor to allow the full range of adjustment, though many exercises in a small room only use the mid-length and short settings. If your ceiling is lower or your anchor point sits lower than a doorframe, you will simply lose access to the longest strap settings used for exercises like suspended push-ups at a steep angle. That is a minor limitation, not a dealbreaker.
Floor footprint
Once the anchor is sorted, the floor space question is simpler than it looks. Almost every suspension trainer exercise happens within an arm’s reach of the anchor point. A rectangle roughly 4 feet wide by 6 feet deep, measured out from the anchor, covers presses, rows, squats, lunges (performed in place rather than walking), planks, and most core work. What a small room takes away is the ability to add walking lunges, broad jumps, or sprawling floor sequences. Programming for a small room means working around that limitation rather than fighting it.
Quick Room Audit Checklist
- Anchor rating: Solid-core door, exposed structural beam, or a wall/ceiling mount rated for dynamic bodyweight load — not drywall alone, not a closet rod.
- Door direction: The anchored door swings away from your training space so it stays shut under tension.
- Overhead clearance: At least 7 feet from anchor to floor, or you accept losing the longest strap settings.
- Swing radius: A clear arc of about 3 feet to each side of the anchor, free of furniture corners, lamps, and door handles.
- Floor surface: Non-slip and flat; a yoga mat or two under the foot area is enough for most apartment flooring.
- Strap inspection: Webbing, buckles, and carabiners checked for fraying or cracking before every session, not just at purchase.
Why a Suspension Trainer Fits Small-Room Training Better Than Free Weights
The core mechanical difference between a suspension trainer and a dumbbell rack is how resistance scales. With free weights, you add resistance by adding external load, which means storing more equipment. With a suspension trainer, you add resistance by changing your body angle relative to the anchor point: walking your feet forward on a chest press makes it harder, walking them back makes it easier. That single design feature is what makes the tool so space-efficient. One set of straps, adjusted by angle and by moving a few inches closer to or farther from the anchor, replaces a rack that would otherwise need several feet of wall or floor space to store.
This matters beyond convenience. General strength training guidance from public health bodies is consistent regardless of what equipment you use: the CDC recommends adults get muscle-strengthening activity for all major muscle groups at least 2 days a week, and the NHS gives the same twice-weekly minimum for strength work in its adult activity guidelines. Mayo Clinic’s guidance adds a useful detail for programming purposes: a single set of 12 to 15 repetitions performed to the point of muscle fatigue is enough to build strength for most people, and progressive overload (increasing resistance over time rather than just adding more reps) is what keeps that stimulus effective. A suspension trainer can deliver all of that without a single external plate, which is exactly why it works in a room too small for a rack.
None of this makes a suspension trainer superior in every scenario. It is a poor substitute for heavy lower-body loading if your goal is maximal strength, and it will not replace a barbell for someone training for a powerlifting total. But for a small room where the goal is general strength, muscle endurance, and core control, it solves the space problem that dumbbells and machines cannot.
Programming Principles for a Small Room
The programming challenge in a small room is not the trainer itself, it is the absence of lateral and traveling movement. Walking lunges, broad jump variations, and sprawling floor-to-standing transitions all need more room than a small space provides. The fix is to lean into the three variables a suspension trainer actually controls well: angle, tempo, and unilateral loading.
Use angle instead of added load
For pressing and pulling movements, treat foot position as your load selector. Standing more upright and closer to the anchor reduces difficulty; walking your feet away from the anchor (for a row) or further forward (for a press) increases it by shifting more of your bodyweight into the working muscles. Small adjustments, sometimes just 3 to 4 inches, change the difficulty of a set meaningfully, which means you rarely need more room than a single stride length to progress a movement over weeks.
Slow the tempo to add difficulty without adding space
A 3-to-4 second lowering phase on a suspended row, press, or squat increases time under tension substantially without requiring any additional floor space or equipment. This is one of the most useful tools for small-room programming because it lets you keep progressing an exercise you already have room for, rather than needing a new, more spacious variation.
Train single-limb to build stability in a tight footprint
Single-arm rows, single-leg suspended squats, and single-arm presses demand more core and stabilizer engagement per repetition than their two-limb counterparts, and they take up the same amount of space as the bilateral version. In a room where you cannot add lateral movement to challenge stability, unilateral work is the more space-efficient substitute.
“The room does not need to get bigger for the workout to get harder. Change the angle, slow the rep down, or take a limb away from the movement, and the same four-by-six-foot rectangle you started with will still be challenging you a year from now.”
A Sample Four-Week Small-Room Progression
The following progression assumes three sessions a week, which lines up with the twice-weekly minimum for strength work recommended by both the CDC and the NHS while leaving a buffer day for recovery between sessions targeting the same muscle groups, consistent with Mayo Clinic’s guidance to rest a muscle group for a full day before training it again.
If a set becomes easy to complete with good form well before the top of the rep range, that is the signal to change the angle for next session rather than simply adding more reps. This mirrors Mayo Clinic’s general strength training advice: once a resistance level stops causing fatigue by 12 to 15 reps, it is time to increase the challenge rather than the volume.
Sample Small-Room Circuit
This circuit is designed to run entirely within a 4-by-6-foot footprint from a single anchor point. Rest 30 to 45 seconds between exercises and repeat the full circuit 2 to 3 times, depending on your current conditioning.
Step-by-Step Circuit
- Anchor check and warm-up (2 minutes): Inspect webbing and buckles, then do a light set of standing rows to confirm the anchor holds steady under load.
- Suspended chest press (12-15 reps): Face away from the anchor, lean forward, and press through a controlled range without letting the shoulders round forward.
- Suspended low row (12-15 reps): Face the anchor, walk feet forward until you’re at a comfortable lean, and pull your chest toward the handles while keeping elbows close to the body.
- Suspended squat (12-15 reps): Hold the handles at chest height facing the anchor for balance support, then squat to a comfortable depth with control on the way down.
- Suspended plank with foot cradles (20-30 seconds): Feet in the cradles, hands on the floor, hold a straight line from shoulders to ankles without letting the hips sag or pike.
- Cool-down stretch (2 minutes): Use the straps for a supported hamstring stretch and a light overhead lat stretch to close the session.
Common Mistakes in Tight Training Spaces
A few mistakes show up disproportionately often in small-room setups, mostly because the space itself hides the problem until something fails.
Anchoring to something rated for static weight, not dynamic load. A hook or bracket that can hold a coat rack is not automatically able to handle the jerking, bouncing forces of a suspended row or a plank shift. Static and dynamic load ratings are different, and manufacturer instructions for both the anchor point and the suspension trainer itself should be checked before the first session, not assumed.
Training too close to furniture edges. In a small room it’s tempting to squeeze the anchor point next to a desk or bed frame to preserve floor space elsewhere. The swing radius of the straps needs a genuinely clear arc, because a lost-balance moment during a single-leg squat or a suspended lunge can send a knee or shoulder directly into a hard corner.
Skipping the door check. A door anchor depends on the door staying closed and the frame staying rigid. Hollow interior doors, French doors, or doors that open toward the training space instead of away from it are common causes of anchor failure in apartments, and the failure usually happens mid-set rather than during setup.
Programming as if the room were bigger. Copying a suspension trainer program built for a garage gym, then trying to cram in traveling lunges or broad jumps, tends to produce awkward, cramped movement patterns rather than a genuinely smaller version of the same workout. It’s more effective to build the program around angle, tempo, and unilateral variables from the start.
Who Should Be Cautious With Suspension Training
Suspension training asks a lot of the shoulders, wrists, and core stabilizers because so much of the resistance comes from controlling your own bodyweight through an unstable, moving anchor point rather than a fixed machine path. People new to structured exercise, those recovering from a shoulder or wrist injury, and anyone with a diagnosed joint instability issue should treat suspension work as an intermediate tool rather than a starting point, and should consult a doctor or physical therapist before adding it to a routine, particularly if returning to exercise after a long break or managing a chronic condition. This lines up with the CDC’s general recommendation that adults who have been inactive, have a disability, or are managing a chronic health condition talk with a healthcare provider about the types and amounts of physical activity appropriate for them before starting a new program.
None of this is a reason to avoid suspension training. It just means starting with the most supported version of each movement (a higher lean angle on presses and rows, a shallower squat depth, shorter plank holds) and letting the angle and tempo adjustments described earlier do the work of progressing safely over time.
Choosing a Suspension Trainer That Suits a Small Room
Not every suspension trainer is built the same way, and a few design details matter more in a small room than they would in a full-size gym. Strap length range is the first thing to check: models with a shorter minimum length give you more usable settings in a room with limited height clearance, since you won’t be forced into the longest setting just to get the handles off the floor. Adjustable-length straps with a simple locking mechanism also make it faster to switch between a press, a row, and a plank in the same short session, which matters more when you’re working in a compact space with no room to leave multiple stations set up at once.
A second detail worth checking is the anchor attachment included with the trainer. Many kits ship with a basic door anchor, but the quality of that anchor varies. A door anchor with a wide, flat strap distributes pressure across more of the door and frame than a thin cord-style anchor does, which reduces wear on the door and lowers the chance of slipping during a dynamic movement. If you plan to also mount a ceiling or wall anchor for a more permanent setup, look for a trainer whose carabiner and webbing are rated for the anchor hardware you intend to use, since mismatched load ratings between the strap and the mounting hardware are a common and avoidable failure point.
Foot cradles versus ankle straps is largely a comfort preference, but in a small room where you’ll frequently be transitioning between standing and floor-based exercises within the same few square feet, cradles that are quick to step in and out of will save meaningful time and reduce the temptation to skip transitions altogether. None of these differences change the core programming principles above. They just make the day-to-day experience of training in a tight footprint smoother.
Building a Weekly Structure Around a Single Room
Because a small room usually means a single training station rather than separate areas for different equipment, it helps to think in terms of a rotating weekly structure rather than a fixed daily split. A simple three-day rotation, upper-body pressing and pulling on day one, lower-body and core on day two, and a full-body combination on day three, keeps every session distinct without requiring more space or additional gear. Each day still uses the same anchor point and the same basic footprint described earlier; only the exercise selection and the angle/tempo variables change.
This kind of rotation also solves a scheduling problem specific to small living spaces: if the room doubles as a bedroom, office, or living area, a shorter, well-defined session is easier to fit around the rest of the day than an open-ended workout that sprawls across furniture. Twenty to thirty minutes is generally enough time to complete the circuit outlined above two to three times through, which aligns with the twice-weekly minimum from the CDC and NHS while leaving room to add a third session if time and recovery allow.
Frequently Asked Questions
How much space do I actually need for a suspension trainer?
A rectangle of roughly 4 feet wide by 6 feet deep from a single overhead or door anchor covers the large majority of suspension trainer exercises, including presses, rows, squats, planks, and stationary lunges. What you lose in a small room is the ability to travel with the movement, such as walking lunges, not the ability to load and progress the exercises themselves.
Can I use a suspension trainer without a doorway or ceiling anchor?
Yes, as long as you have another point rated for dynamic bodyweight load, such as an exposed structural beam or a purpose-built wall or ceiling mount installed into studs or joists. A closet rod, curtain rail, or light fixture is not a suitable anchor regardless of how convenient it looks.
How often should I train with a suspension trainer each week?
Public health guidance from the CDC and the NHS both recommend at least 2 days a week of muscle-strengthening activity for adults, and a suspension trainer can fully deliver that. Many small-room programs run 3 sessions a week with a rest day between sessions hitting the same muscle groups, which follows Mayo Clinic’s general strength training advice.
Is suspension training enough on its own, or should I add other equipment?
For general strength, muscle endurance, and core stability, a suspension trainer alone can meet the twice-weekly strength training recommendation from major health bodies. If your goal includes building maximal lower-body strength or working toward specific barbell-based numbers, you’ll eventually want to add loaded equipment, but that’s a goal-specific consideration rather than a limitation of small-room training itself.
What’s the safest way to anchor a suspension trainer in an apartment?
A solid-core door that swings away from your training space, with a door anchor attachment rated for the trainer, is the standard apartment solution. Check that the door frame is securely attached to the wall studs, inspect the webbing and hardware before each session, and keep a clear swing radius of about 3 feet on each side of the anchor.
Can beginners use suspension trainers safely, or is it better suited to advanced trainees?
Beginners can use suspension trainers safely by starting with a more upright lean angle, which reduces the resistance, and progressing gradually as described in the four-week plan above. That said, anyone new to exercise, returning from injury, or managing a chronic health condition should check with a doctor before starting, consistent with CDC guidance on new exercise routines.
References
- Centers for Disease Control and Prevention, Physical Activity Guidelines for Adults
- Centers for Disease Control and Prevention, Adding Physical Activity as an Adult
- NHS, Strength Exercises
- Mayo Clinic, Strength Training: Get Stronger, Leaner, Healthier
- Wikipedia, Suspension Training (background on the history and development of suspension training systems)