


























By Emily Harrison
Somewhere between “I can’t do a single push-up” and “I can knock out twenty with strict form” lies a long, mostly ignored middle ground. Most people either avoid push-ups altogether because the first attempt felt impossible, or they do a version so shortened that it barely trains anything. Neither approach builds the strength, shoulder stability, or core control that a genuine full-range push-up develops.
This guide lays out a complete progression: the exact sequence of variations that takes someone from zero push-ups to a controlled, chest-to-floor repetition, plus the programming details, common mistakes, and safety notes that make the difference between steady progress and a stalled-out plateau or a nagging shoulder injury.
What “Full Range” Actually Means in a Push-Up
A full-range push-up starts in a rigid plank, with hands roughly under or slightly wider than the shoulders. The body lowers as one unit until the chest (not just the chin or nose) approaches the floor, elbows tracking at somewhere between 30 and 45 degrees from the torso rather than flared straight out to the sides. From that bottom position, the body presses back up to a fully extended, but not locked-out and hyperextended, plank.
That “chest near the floor” detail matters more than most people realize. Partial-range push-ups, where the chest stops a few inches short of the bottom, are common, especially among people rushing to build up a rep count. They still train the chest, shoulders, and triceps to a degree, but they shortchange the bottom-range strength and shoulder mobility that full-range work builds, and they make the movement easier to fake with momentum. Coaches and physical therapists generally treat a genuine bottom position, hips and shoulders moving together without sagging or piking, as the standard worth training toward, even if it takes weeks or months of progression work to get there safely.
Why Push-Up Strength Is Worth the Effort
Push-up capacity isn’t just a gym-class holdover. A 2019 study published in JAMA Network Open followed 1,104 male firefighters, average age around 40, for ten years and tracked cardiovascular events against how many push-ups each man could complete at baseline. The men who could do more than 40 push-ups had a substantially lower rate of cardiovascular disease events over the follow-up period than those who managed fewer than 10, with an incidence rate ratio of 0.04 (95% CI, 0.01–0.36) after adjusting for other risk factors. That’s not a claim that push-ups alone prevent heart disease. It’s an association in a specific, physically active occupational population, and the researchers themselves framed push-up capacity as a low-cost marker of overall functional fitness rather than a stand-alone intervention. Still, it’s a striking illustration of how much a simple bodyweight measure can reflect about a person’s broader conditioning.
“Push-up capacity was inversely associated with cardiovascular disease risk in this cohort of occupationally active men. Push-up capacity is a simple, no-cost measure that may be a useful surrogate for cardiovascular fitness assessments.”
— JAMA Network Open, 2019 (firefighter cohort study)
Beyond that single study, push-ups target the chest, shoulders, triceps, and core in one closed-chain movement that doesn’t require equipment or a gym membership. The CDC’s physical activity guidelines call for muscle-strengthening activity that works all major muscle groups, including the chest, shoulders, and arms, on two or more days a week. A well-built push-up progression is one of the more efficient ways to check that box without any equipment at all.
The Progression Ladder: From First Attempt to Full Range
Think of this less as a rigid ladder where you must nail one rung before touching the next, and more as a set of tools you can mix depending on the day, your fatigue, and how your shoulders feel. Most people move through these stages over roughly six to twelve weeks, though pace varies a great deal depending on starting strength, body weight, and how consistently they train.
Stage 1: Wall Push-Up
Stand an arm’s length from a wall, feet hip-width apart, hands flat against the wall at roughly chest height and slightly wider than shoulder width. Keeping the body in a straight line from head to heels, bend the elbows to bring the chest toward the wall, then press back to start. This is the entry point recommended by the NHS for people building strength from a low baseline, and it’s a legitimate place to start rather than something to rush past. Aim for 3 sets of 8 to 12 controlled reps before moving on.
Stage 2: Incline Push-Up
Place both hands on a stable elevated surface, a sturdy table, a weight bench, a staircase, or a countertop, with feet on the floor behind you in a straight plank line. The higher the surface, the easier the movement; the lower it gets, the closer it approximates a floor push-up. Work through a few heights over successive weeks: countertop, then a bench, then a low step, gradually lowering the incline as reps get easier. This stage is where people usually spend the most time, because it lets you rebuild the full plank-and-press pattern without asking the arms and chest to move full body weight yet.
Stage 3: Knee Push-Up
From a plank position, drop to the knees, keeping a straight line from knees through hips to shoulders (not piking the hips up or letting them sag). Lower the chest toward the floor and press back up. This reduces the load compared to a full push-up by shortening the lever arm, while still training the full pressing range of motion at the shoulder and elbow. Some coaches prefer this to incline work because it more closely mimics the floor push-up’s arm and torso angle; a sound approach is to use both, alternating based on which muscle groups feel most fatigued that day.
Stage 4: Negative (Eccentric) Push-Up
Start at the top of a full plank push-up, then lower as slowly as possible, aiming for a 3 to 5 second descent, all the way until the chest is near the floor. Drop the knees or simply lie down at the bottom rather than trying to press back up if you can’t yet. Eccentric (lengthening) strength typically develops faster than concentric (lifting) strength, so slow negatives are one of the most efficient ways to build the specific strength needed to eventually press up from a dead stop at the bottom.
Stage 5: Full Push-Up, Partial Range
Once negatives feel controlled, try full push-ups but allow a slightly shorter range at first, stopping a few inches above the floor if that’s where the strict form starts to break down. This isn’t the end goal, but it’s a legitimate bridge: better to keep hips and shoulders moving together through a shorter range than to force the last few inches and let the low back sag or the head jut forward.
Stage 6: Full-Range Push-Up
Chest (not just chin) reaches close to the floor, elbows tracking at roughly a 30 to 45 degree angle from the torso, hips and shoulders rising and falling together. This is the version most programs mean when they say “push-up,” and it’s a genuinely different animal from the partial-range version most beginners default to. Reaching a comfortable single set of 8 to 10 strict reps here is a reasonable marker that the fundamentals are solid.
Stage 7: Beyond Standard: Deficit, Feet-Elevated, and Single-Arm Work
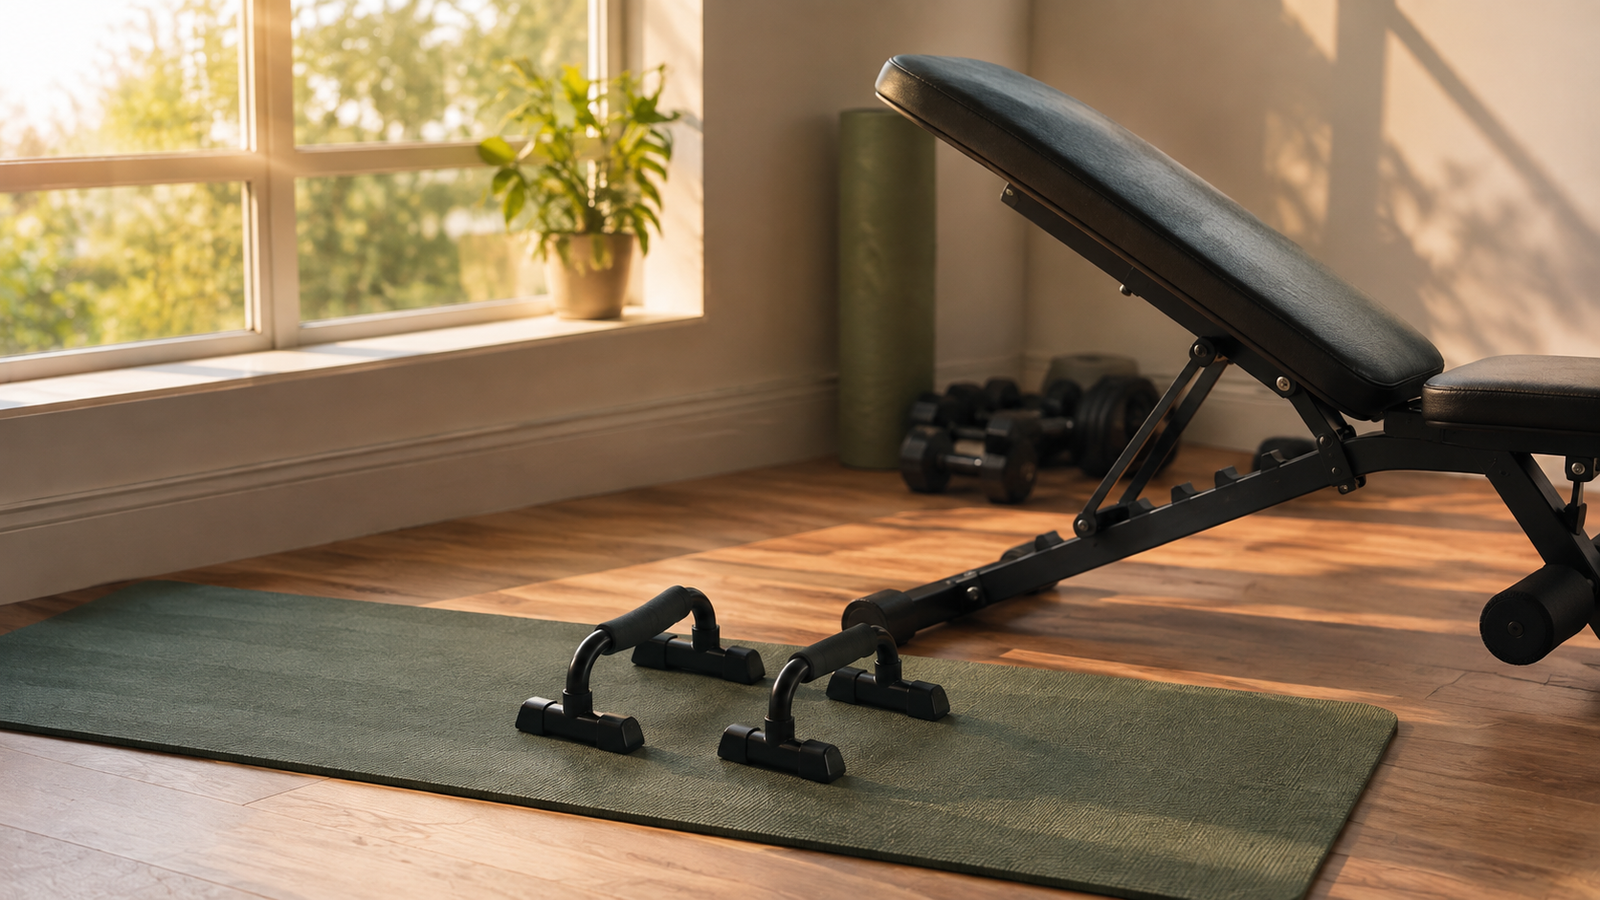
For people who want more range or more load once standard push-ups feel easy, a deficit push-up (hands on two blocks or handles, allowing the chest to drop below hand level) adds range of motion. Elevating the feet on a step or bench shifts more load toward the shoulders and upper chest. Archer push-ups (shifting weight side to side toward one arm while the other stays extended) and eventually one-arm push-up progressions build toward genuinely advanced strength, but they also raise wrist, shoulder, and elbow demands considerably, so they’re worth approaching gradually and only once full-range standard push-ups feel completely stable.
Quick-Reference Progression Checklist
- Wall push-up — 3×8–12, feet from wall for challenge
- Incline push-up — lower the surface height weekly
- Knee push-up — straight line, knees to shoulders
- Negative push-up — 3–5 second slow lowering phase
- Full push-up, partial range — stop where strict form holds
- Full-range push-up — chest near floor, elbows at 30–45°
- Deficit / feet-elevated / archer work — once 8–10 strict reps feel easy
Programming: Sets, Reps, and Frequency That Actually Build Progress
Strength adaptations, especially for a new or returning-to-training pattern like a push-up progression, respond well to frequent practice at a manageable difficulty rather than occasional maximal efforts. Mayo Clinic’s guidance on strength training recommends working each major muscle group at least twice a week, choosing a resistance level (or, in this case, a push-up variation) that fatigues the muscles by around 12 to 15 repetitions, and resting roughly a full day between sessions that target the same muscles to allow recovery. The NHS gives similar advice for its wall press-up progression: two sessions a week, gradually increasing reps over time rather than jumping stages too quickly.
Translating that into a push-up progression plan: pick the stage that lets you complete 3 sets of 8 to 12 reps with clean form and a bit of effort left in the tank on the last set. Train that movement two to four times a week, resting at least one day between sessions. When 3 sets of 12 to 15 reps feel controlled and not close to failure, that’s the signal to move down one rung on the ladder (toward a lower incline, or from incline to knee push-ups, and so on) rather than simply adding more reps at the same difficulty indefinitely.
Common Form Breakdowns and How to Fix Them
Most push-up problems trace back to a handful of repeat offenders.
Sagging hips. When the core isn’t bracing hard enough, the hips drop toward the floor before the chest does, turning the movement into a lower-back exercise instead of a chest-and-shoulder one. Fix it by squeezing the glutes and bracing the abdomen as though about to take a light punch to the stomach, then re-checking the plank line in a mirror or on video before starting the rep.
Flared elbows. Letting the elbows point straight out to the sides at 90 degrees puts more strain on the front of the shoulder joint. Aiming for roughly 30 to 45 degrees between the upper arm and torso reduces that stress while still training the chest and triceps effectively.
Partial range disguised as full range. Stopping a few inches above the floor and calling it a full push-up is common, especially once someone can already do a handful of reps and wants to chase a higher number. Using a small target, a fist on the floor to touch with the chest, a rolled towel, or simply filming from the side, keeps the range honest.
Head jutting forward. Craning the neck to look up or forward as fatigue sets in throws off the straight-line alignment through the spine. Keeping the gaze angled slightly forward and down, roughly toward the floor a foot or two ahead of the hands, tends to keep the neck in a more neutral position.
Flared wrist pain. Straight-wrist positioning under repeated load can bother some people, especially those returning to weight-bearing wrist work after time off. Push-up handles, a slight inward hand rotation, or working on fists (on a padded surface) are all reasonable adjustments, though anyone with ongoing wrist pain should have it evaluated rather than pushing through.
Safety Notes and When to Modify the Plan
Push-up progressions are low-risk compared to loaded barbell work, but they’re not risk-free, and a few sensible precautions go a long way. Anyone starting a new exercise program, especially after a long period of inactivity, pregnancy, a recent injury, or with an existing heart, joint, or shoulder condition, should check with a doctor or physical therapist before beginning. That’s a standard recommendation echoed across the CDC and Mayo Clinic guidance referenced above, and it applies just as much to bodyweight training as to gym-based programs.
A few additional flags worth taking seriously: sharp or pinching pain in the shoulder (as opposed to general muscular fatigue), numbness or tingling down the arm, chest pain, unusual shortness of breath, or dizziness during exercise are all reasons to stop and seek medical guidance rather than pushing through. Mayo Clinic’s strength training guidance is direct on this point: stop immediately if a movement causes pain, and consider working with a qualified trainer or therapist when starting out, particularly for anyone managing a joint issue or recovering from injury.
It’s also worth pacing progression by feel rather than by calendar. Some weeks strength climbs quickly; others, especially around poor sleep, high stress, or illness, it stalls or even dips slightly. That’s a normal part of adapting to a new movement pattern, not a sign that the plan has failed.
A Sample Eight-Week Outline
This is a template to adapt, not a rigid prescription. Someone starting from a lower baseline might spend longer on early stages; someone with more of a training background might move through the first few weeks quickly and spend more time refining full-range mechanics.
Eight-Week Progression Outline
- Weeks 1–2: Wall push-ups, 3 sets, 2–3x/week; add knee push-ups once wall sets feel easy for 12+ reps
- Weeks 3–4: Incline push-ups at a moderate height, plus knee push-ups; introduce 3–5 slow negatives per session
- Weeks 5–6: Lower the incline height progressively; mix in partial-range full push-ups on fresher days
- Weeks 7–8: Full-range push-ups as the primary variation; retest for a clean set of 8–10 strict reps
- Beyond week 8: Build volume on full-range reps, then layer in deficit, feet-elevated, or archer variations
Progress rarely moves in a straight line, and that’s fine. What matters more than hitting an exact week-by-week target is that each stage feels genuinely controlled, not just barely survivable, before moving to the next.
Adapting the Progression for Different Bodies and Goals
Not everyone starts from the same place, and the progression above is meant to flex around that rather than force a single path. Body weight and limb length both change how hard a given stage feels: someone with a higher body weight relative to their current upper-body strength will typically need more time on incline and knee variations, since the incline stage effectively reduces how much of that weight the arms and chest have to move. That’s not a shortcut or a lesser version of training, it’s an appropriate way to build the same strength without overloading joints and connective tissue before they’re ready.
People returning to exercise after a break, whether from injury, pregnancy, illness, or simply a long stretch without structured training, often do better restarting a stage or two lower than where they left off rather than picking back up where they stopped. Tissues and motor patterns both need a re-adaptation period, and pushing straight back into a harder variation is one of the more common ways people re-injure a shoulder or strain a wrist during a comeback.
Older adults and anyone managing joint conditions like arthritis in the wrists or shoulders can still work through this same progression; it may simply mean spending longer at the wall and incline stages, using push-up handles to keep the wrists in a more neutral position, or working with a physical therapist to adjust hand placement and range. The goal is consistent, pain-free practice, not rushing toward the hardest variation on a fixed timeline.
For anyone training push-ups as part of a broader strength routine rather than in isolation, pairing them with pulling exercises (rows, band pull-aparts) and lower-body work helps keep the shoulders balanced front to back, which supports both performance and joint health over the long run. A push-up progression on its own is a strong start, but it works best as one piece of a well-rounded routine that also touches the legs, back, and core, in line with the broader muscle-strengthening guidance from the CDC referenced earlier.
Frequently Asked Questions
How long does it take to go from zero push-ups to a full-range push-up?
Timelines vary widely depending on starting strength, body weight, consistency, and recovery. Many people following a structured progression two to four times a week see a solid full-range push-up within roughly six to twelve weeks, though it can take longer for people starting from a very low baseline, and that’s completely normal.
Are knee push-ups a “real” exercise or just a beginner shortcut?
Knee push-ups are a legitimate, regressed version of the movement, not a lesser exercise. They train the same pressing pattern and range of motion through the shoulder and elbow while reducing the load, which makes them a genuinely useful tool for building strength safely, not something to feel embarrassed about using.
Why do my wrists hurt during push-ups?
Straight-wrist loading under repeated bodyweight stress can aggravate some wrists, especially with limited wrist extension mobility or after time away from weight-bearing arm work. Push-up handles, working on fists on a padded surface, or a slight adjustment to hand angle often help. Ongoing or sharp wrist pain is worth having evaluated rather than working around indefinitely.
Do push-ups work the same muscles as a bench press?
They overlap considerably, training the chest, shoulders, and triceps through a similar pressing pattern, but push-ups also demand more core and full-body stabilization since the torso has to stay rigid against gravity throughout the movement, which a bench press’s fixed lying position doesn’t require in the same way.
How many push-ups should I eventually be able to do?
There’s no single universal target, since it depends on goals, age, and body composition. Research on occupational populations, such as the firefighter cohort discussed above, has associated higher push-up capacity with better cardiovascular markers, but that reflects an association within a specific study population rather than a personal benchmark everyone needs to hit. A more useful goal for most people is a controlled set of full-range reps that feels solid and repeatable, then building from there based on personal goals.
Can I do a push-up progression every day?
Daily practice at an easy variation (like wall or incline push-ups) is generally tolerated well by most people, but as the difficulty increases toward knee, negative, and full push-ups, some recovery time between sessions targeting the same muscles supports better adaptation and lowers injury risk. Two to four sessions a week with at least a day of rest between harder sessions is a reasonable general approach, adjusted to how the shoulders and chest feel.
References
- Yang, J., et al. “Association Between Push-up Exercise Capacity and Future Cardiovascular Disease Events Among Active Adult Men.” JAMA Network Open, 2019. jamanetwork.com/journals/jamanetworkopen/fullarticle/2724778
- Centers for Disease Control and Prevention. “Adult Activity: An Overview.” cdc.gov/physical-activity-basics/guidelines/adults.html
- Mayo Clinic. “Strength Training: Get Stronger, Leaner, Healthier.” mayoclinic.org/healthy-lifestyle/fitness/in-depth/strength-training/art-20046670
- NHS. “Strength Exercises.” nhs.uk/live-well/exercise/strength-exercises