





















By Laila Qureshi
If your idea of core training starts and ends with crunches, you are not alone, and you are also not getting the results you think you are. Crunches load the spine into repeated flexion, they rarely translate to real-world stability, and for a lot of people they end up aggravating the lower back or neck instead of building anything useful. The good news is that you can build a genuinely strong, stable, functional core without doing a single one.
This guide walks through what core strength actually means, why the crunch-centric approach falls short, and how to train your midsection using anti-extension, anti-rotation, and anti-lateral-flexion work instead. You’ll get a full step-by-step routine, a look at common mistakes, and answers to the questions people ask most often about this style of training.
One note before we start: this article is for general fitness education. If you have existing back pain, a diagnosed disc issue, are pregnant or recently postpartum, or have had abdominal or spinal surgery, talk with a doctor or physical therapist before starting a new core program. Nothing here is a substitute for individualized medical guidance.
What “Core Strength” Actually Means
The core isn’t just the muscles you can see in the mirror. According to Mayo Clinic, the core includes the muscles of the pelvis, lower back, hips, and abdomen working together, not just the rectus abdominis (the “six-pack” muscle) in isolation. Mayo Clinic notes that core exercises train these muscles to work in coordination, which is what allows you to do everyday things like swinging a golf club, reaching for a glass on a top shelf, or bending down to tie your shoes without strain.
Physio-pedia describes the core similarly: as the center of the body that stabilizes the trunk while the arms and legs move during functional tasks, involving hip stabilizers, torso muscles, and shoulder stabilizers acting together to create stiffness around the spine from every direction. That last part is the key idea this whole article rests on: a strong core is defined by its ability to resist unwanted movement of the spine, not by how many times it can bend forward against resistance.
There’s also a deeper layer to this. The transverse abdominis, a deep abdominal muscle that wraps around the trunk like a corset, activates throughout the entire range of spinal flexion and extension to help maintain stability. Research summarized by Physio-pedia (citing Studnicka and Ampat’s work on lumbar stabilization) explains that the nervous system typically anticipates spinal loading and contracts this muscle proactively, before you even move. When pain or dysfunction disrupts that timing, larger, more superficial muscles start compensating, which can create a cycle of poor movement patterns and recurring strain. This is part of why “core stability” and “core strength” are treated as related but distinct concepts in rehab and performance settings: you need both the capacity to produce force and the timing to control it.
Why Crunches Are Not the Best Tool for the Job
Crunches and traditional sit-ups train one thing well: spinal flexion under load, repeated many times. The rectus abdominis does get worked, but the exercise asks the lumbar spine to round and re-round, over and over, often for high rep counts.
Spine biomechanics researchers, most notably Stuart McGill, a professor at the University of Waterloo recognized with the Order of Canada for his work on spine mechanics and injury prevention, have spent decades studying how the low back responds to repeated flexion under load. His broader body of work and widely referenced training approach (built around exercises like the curl-up, side plank, and bird dog rather than full sit-ups or crunches) has shaped how many strength coaches and physical therapists now think about core training: emphasize control and stiffness over repeated end-range bending, especially for people who already sit in spinal flexion for hours at a desk every day.
That’s really the practical issue. Most adults spend the bulk of their day in a flexed position: sitting at a desk, driving, looking at a phone. Adding a high-rep flexion exercise on top of that doesn’t address the imbalance, it can pile onto it. Meanwhile, crunches also tend to overuse hip flexors (which pull on the front of the pelvis and lower spine) while barely challenging the muscles that actually keep your spine from buckling under real-world load: the deep stabilizers working isometrically to resist movement.
None of this means crunches are dangerous for everyone in every context. Plenty of people do them without issue. The point is that they’re an inefficient way to build the kind of core strength that protects your back and improves performance, and there are better options that do more with less risk.
“A strong core isn’t one that can crunch forward a hundred times. It’s one that can resist being crunched, twisted, or bent by an outside force without your spine giving in first.”
The Anti-Movement Framework
Instead of training your core to move your spine, you train it to resist movement in three directions. This is often called anti-movement training, and it maps directly onto the demands of real life: carrying a heavy bag on one side, catching yourself when you trip, twisting to grab something out of a back seat.
- Anti-extension: resisting your lower back from arching or collapsing forward under load (planks, dead bugs, rollouts).
- Anti-rotation: resisting your torso from twisting when force is applied unevenly (pallof presses, single-arm carries).
- Anti-lateral flexion: resisting your spine from bending sideways under an off-center load (side planks, suitcase carries).
Training all three gives you a core that holds its position under pressure from any angle, which is a far closer match to what your spine has to do outside the gym than a flexion-based movement is.
The Core Exercises That Replace Crunches
1. Dead Bug (Anti-Extension)
Lie on your back, arms reaching toward the ceiling, hips and knees bent to 90 degrees. Press your lower back gently into the floor and hold that contact throughout. Slowly lower one arm overhead and the opposite leg toward the floor at the same time, without letting your back arch off the mat, then return to start and switch sides. Move slowly. If your lower back lifts off the floor, you’ve gone past the range you can currently control, so shorten the reach.
2. Bird Dog (Anti-Extension / Anti-Rotation)
Start on hands and knees, spine neutral. Extend one arm forward and the opposite leg back at the same time, keeping your hips and shoulders square to the floor (resist the urge to rotate open). Hold for a beat, then return with control. This is one of the exercises associated with McGill’s widely used “big three” approach to spine-friendly core training, alongside the curl-up and side plank.
3. Front Plank (Anti-Extension)
Forearms on the ground, elbows under shoulders, body in a straight line from head to heels. Squeeze your glutes, brace your abs like you’re about to take a light punch to the stomach, and hold. A sagging hip means the position no longer trains what it’s supposed to, so shorten the hold time rather than let form break down.
4. Side Plank (Anti-Lateral Flexion)
Lie on your side, prop up on one forearm with your elbow under your shoulder, and lift your hips so your body forms a straight line. Stack your feet or stagger them for more stability. Hold, keeping your hips high and your waist from sagging toward the floor.
5. Pallof Press (Anti-Rotation)
Attach a resistance band to something at chest height, or use a cable machine, and stand sideways to the anchor point. Hold the handle at your chest with both hands, then press it straight out in front of you and back, resisting the band’s pull that wants to twist your torso toward the anchor. Keep your hips and shoulders facing forward throughout.
6. Suitcase Carry (Anti-Lateral Flexion)
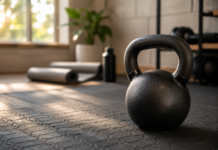
Pick up a moderately heavy dumbbell or kettlebell in one hand and walk for a set distance or time, keeping your torso upright and resisting the urge to lean away from the weight. Switch sides. This is one of the more directly functional core exercises there is, since it mirrors carrying a heavy bag, a toddler, or a suitcase through an airport.
7. Rollout (Anti-Extension, Progression)
Using an ab wheel or a barbell, start kneeling, brace your core, and roll forward as far as you can control before your lower back starts to arch, then pull back to start. This is a more advanced anti-extension move and should be added only once planks and dead bugs feel solid and controlled.
A Step-by-Step Core Routine You Can Start Today
Here is a sample routine built entirely from anti-movement work. Do it two to three times a week, on non-consecutive days, ideally after a light warm-up.
Step-by-Step: The 20-Minute Anti-Crunch Core Circuit
- Step 1, Dead bug: 3 sets of 6-8 slow reps per side, resting 30 seconds between sets.
- Step 2, Bird dog: 3 sets of 6-8 reps per side, pausing 2 seconds at full extension.
- Step 3, Front plank: 3 holds of 20-40 seconds, focusing on a flat lower back and steady breathing.
- Step 4, Side plank: 2-3 holds of 15-30 seconds per side.
- Step 5, Pallof press: 3 sets of 8-10 slow presses per side (use a light resistance band if you don’t have a cable station).
- Step 6, Suitcase carry: 2-3 trips of 20-30 steps per side, choosing a weight you can carry upright without leaning.
- Step 7, Cool down: a minute or two of easy walking and a few gentle spine mobility movements (cat-cow, gentle hip circles).
Total time lands around 18-22 minutes once you factor in transitions. Once this feels manageable across all sets with clean form, progress by adding time to the holds, adding a light band or plate to the dead bug and bird dog, or moving on to rollouts.
Bracing and Breathing: The Detail Most People Skip
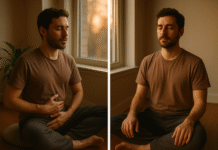
Every one of these exercises depends on a proper brace, not just holding a position. Bracing means tightening your abdominal wall in all directions, front, sides, and back, as if you were about to absorb a light impact, rather than sucking your stomach in. A useful cue is to breathe into your belly and sides while keeping that 360-degree tension, rather than holding your breath the entire set. Practicing this outside the exercises, even just a few reps of bracing while standing, helps the pattern transfer more quickly into the movements themselves.
Common Mistakes That Undercut Progress
- Holding your breath. This spikes internal pressure and fatigues you faster without improving stability.
- Letting the hips sag in planks. A dropped hip means the lower back is absorbing load the abs should be handling.
- Rushing the dead bug. Speed defeats the purpose; the whole point is controlled tension, not momentum.
- Chasing longer plank times over better form. A clean 30-second hold beats a shaky 90-second one.
- Skipping the carries. Loaded carries are often the most transferable exercise on this list and the first one people cut for time.
Who Should Be Extra Careful
This style of training is generally considered gentler on the spine than repeated flexion work, but it isn’t automatically appropriate for everyone. People with acute low back pain, a recent abdominal or spinal surgery, diagnosed disc herniation, or diastasis recti (abdominal separation, common during and after pregnancy) should get individualized guidance from a doctor, physical therapist, or qualified trainer before starting any new core program, including this one. Pain that doesn’t ease with rest, that radiates down a leg, or that comes with numbness or weakness needs medical evaluation, not a workout adjustment.
How Long Before You Notice a Difference
Motor control and stability tend to improve faster than visible muscle change. Many people notice better posture, less low-back fatigue during long periods of standing or sitting, and steadier balance within two to four weeks of consistent practice, two to three sessions a week. Visible changes in the midsection depend far more on overall body composition and nutrition than on which core exercises you choose, and the CDC’s general activity guidance for adults (150 minutes of moderate aerobic activity weekly, plus muscle-strengthening work for all major muscle groups at least two days a week) is a reasonable baseline to build a full routine around, core work included.
Building This Into a Full Training Week
Core work doesn’t need its own dedicated day. Most people get the best results tacking two or three of these exercises onto the end of an existing strength or cardio session, two to three times weekly, rather than trying to squeeze in a separate core-only day. Pair a plank variation and a carry after a lower-body day, or a dead bug and pallof press after an upper-body session. Consistency across weeks matters far more than any single workout’s intensity.
A simple way to structure the week: on a lower-body or leg day, finish with the side plank and suitcase carry, since your hips and glutes are already warm and the carry pairs naturally with squat or deadlift patterns. On an upper-body or push-pull day, add the dead bug and Pallof press, since both fit well after pressing or pulling work without competing for the same energy systems. If you train three or four days a week, that gives you two full anti-movement sessions without ever needing a dedicated ab day. On rest days, a short two-minute bracing drill or a slow walk with a loaded carry is plenty; there’s no need to add more volume just because a day is otherwise open.
Progressing the Routine Over Time
Progress in anti-movement training rarely looks like adding more reps for the sake of it. Instead, look for these markers roughly every one to two weeks:
- Longer clean holds: add five to ten seconds to a plank only once the current hold is fully controlled, not shaky in the last five seconds.
- Slower tempo: slow the dead bug and bird dog down further before adding load; a two-second lowering phase is harder than it sounds once your back stays flat throughout.
- Added resistance: a light ankle weight on the dead bug, a heavier band on the Pallof press, or a slightly heavier kettlebell on the suitcase carry, introduced one variable at a time.
- New variations: once the basics are solid for four to six weeks, layer in rollouts, stir-the-pot movements on a stability ball, or single-arm plank rows.
Trying to progress everything at once (load, tempo, and hold time together) is a common way people lose form and stall out. Pick one variable to push each week and let the others hold steady.
Frequently Asked Questions
Is it true that crunches are bad for your back?
Not inherently, but repeated spinal flexion under load is a pattern many people already get plenty of from sitting all day, and stacking a high-rep flexion exercise on top doesn’t address that imbalance. Anti-movement exercises train the same muscles from a position that’s generally easier on the spine for most people, which is why many coaches and physical therapists favor them, especially for anyone with a history of back discomfort.
Can I really build visible abs without any crunches or sit-ups?
Yes, muscle definition is mostly a function of body fat percentage and overall muscle development, not the specific exercise used to train it. Planks, dead bugs, and carries all work the rectus abdominis and obliques; combined with consistent activity and a supportive diet, they contribute to the same visual result crunches are often marketed toward.
How many days a week should I train my core this way?
Two to three non-consecutive days a week is a solid starting point for most people, which aligns with the CDC’s broader recommendation of muscle-strengthening work for all major muscle groups at least twice weekly.
Do I need equipment to do this routine?
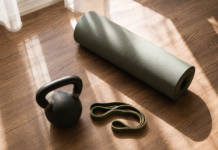
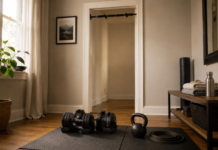
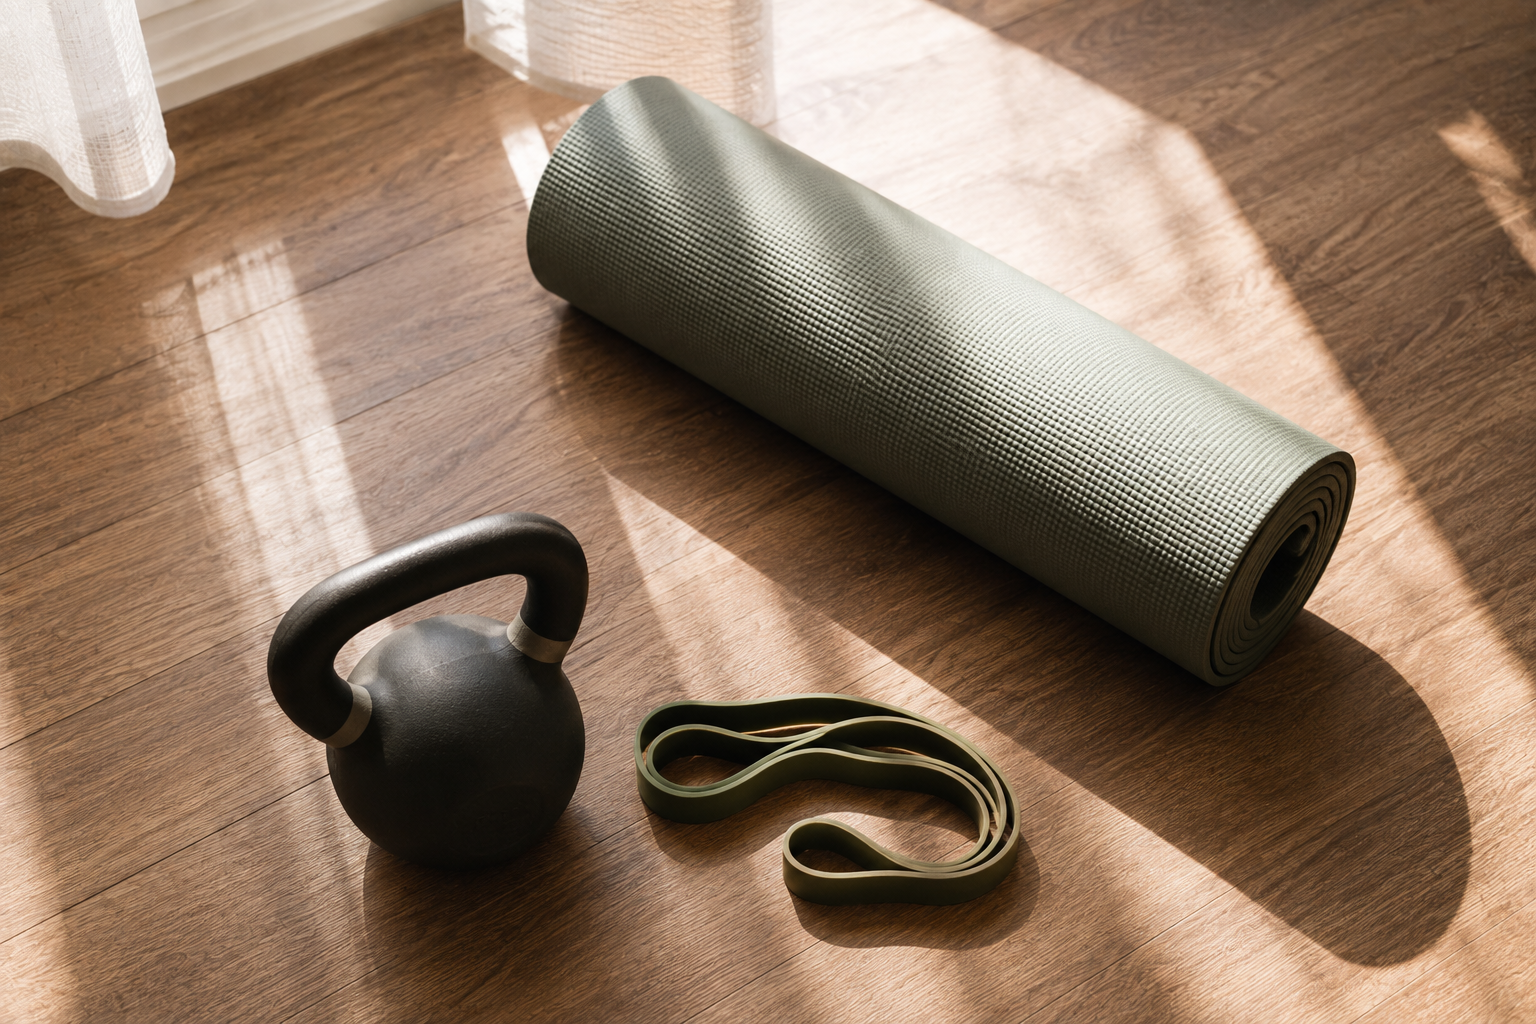
No. The dead bug, bird dog, front plank, and side plank need nothing but floor space. A resistance band makes the Pallof press easier to set up at home, and a dumbbell or kettlebell (or even a heavy bag or jug of water) covers the suitcase carry.
What if I can only hold a plank for 10 seconds?
Start there. Ten clean seconds with proper bracing and a flat spine is more valuable than sixty seconds with sagging hips. Add five to ten seconds per week as the position feels more controlled, rather than jumping straight to a long hold.
Will this help my lower back pain?
Many people with mild, non-specific low back discomfort find that improved core stability and better movement control ease their symptoms over time, and anti-movement training is a common component of physical therapy programs for this reason. That said, back pain has many possible causes, and anyone with persistent or worsening pain should be evaluated by a doctor or physical therapist rather than relying on a general fitness article to diagnose the issue.
The Bottom Line
Real core strength is about control, not crunch count. Train your midsection to resist extension, rotation, and lateral bending instead of repeatedly flexing it, keep your form honest, add a loaded carry or two, and give it a few consistent weeks. You’ll likely notice steadier posture and less back fatigue well before you notice anything in the mirror, and the spine-friendly approach means you’re building a foundation that holds up under real loads, not just repetitions on a mat.
References
- Mayo Clinic, “Core exercises: Why you should strengthen your core muscles”: mayoclinic.org
- Centers for Disease Control and Prevention, “Physical Activity Guidelines for Adults”: cdc.gov
- Physio-pedia, “Core Stability,” citing Studnicka K. and Ampat G. on lumbar stabilization (StatPearls, 2021): physio-pedia.com
- Stuart McGill, Professor Emeritus of Spine Biomechanics, University of Waterloo, biographical and research background: en.wikipedia.org