
















By Charlotte Evans
Most people who train consistently own more workout gear than recovery gear. A rack of dumbbells, a yoga mat for class, maybe a resistance band shoved in a drawer, but nothing set up specifically for the twenty minutes after a hard session when the body actually starts to repair itself. A home recovery corner fixes that gap. It’s a small, dedicated space, often no bigger than a closet door, stocked with the handful of tools that make stretching, rolling, icing, and winding down something you actually do instead of something you mean to do.
This guide walks through exactly how to build one: where to put it, what to put in it, how much it should cost at different budget levels, and how to use it on a normal training week. It also covers where the evidence for popular recovery tools is solid and where it’s still thin, because a lot of recovery marketing outruns the research.
None of this requires a spare room or a big budget. The whole point of framing it as a “corner” rather than a “room” is that it fits into an apartment, a shared house, or a single unused wall just as easily as it fits into a garage gym. What matters is that the handful of tools you actually use live in one predictable place, at eye level or arm’s reach, instead of scattered between a closet, a gym bag, and a kitchen drawer.
What a Home Recovery Corner Actually Is
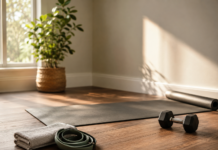
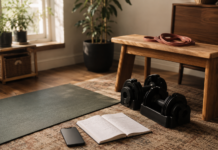
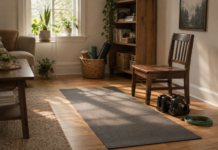
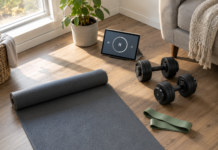
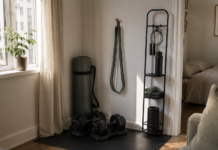
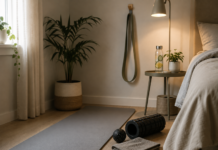
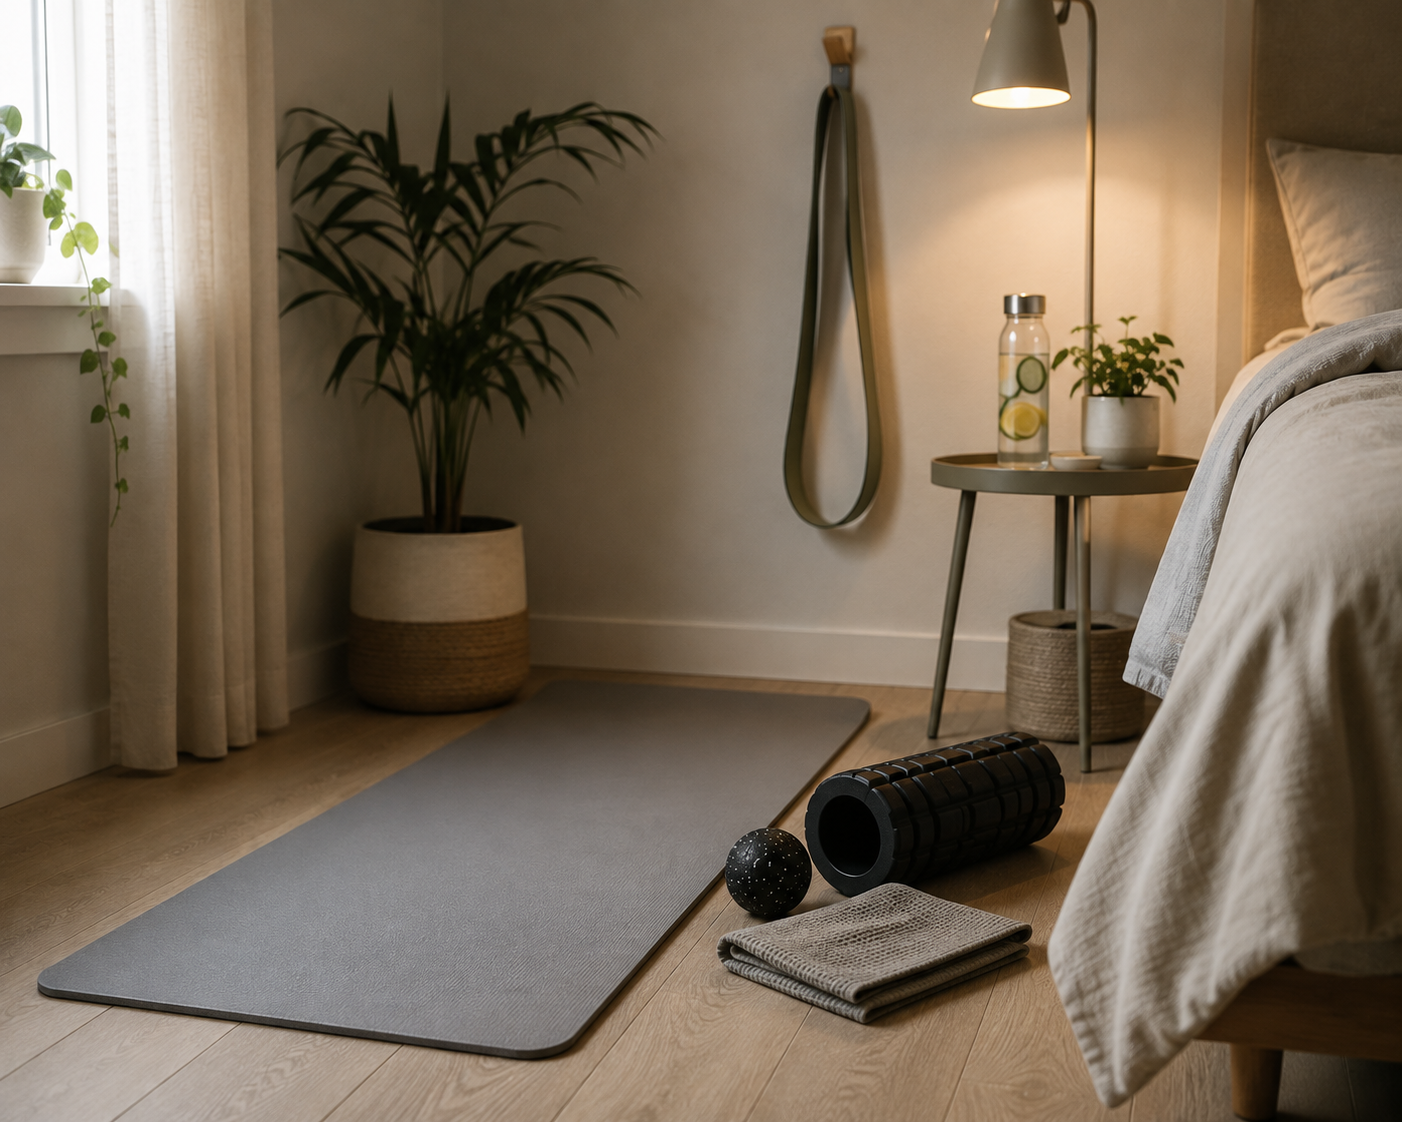
A home recovery corner is a fixed, small-footprint area, roughly the size of a yoga mat plus a side table, set up specifically for post-workout and rest-day habits: mobility work, self-massage, hydration, and a calmer wind-down environment. It is not a second home gym. The goal isn’t to add more equipment to your training; it’s to give the recovery half of your routine a physical home so it stops competing with the couch for your attention after a workout.
Think of it as the counterpart to your workout space. If your squat rack or workout mat is where the stress gets applied, the recovery corner is where the adaptation gets supported: gentle movement, tissue work, fluids, and rest.
Why Giving Recovery Its Own Space Matters
The federal physical activity guidelines for adults call for at least 150 minutes of moderate-intensity aerobic activity a week and muscle-strengthening work on two or more days that hits all the major muscle groups. Those targets assume a body that can absorb repeated training stress week after week, and that only happens with adequate recovery between sessions.
Sleep is a large piece of that. Health authorities recommend that adults aged 18 to 60 get seven or more hours of sleep a night, with adults over 65 generally needing seven to eight hours. Poor sleep doesn’t just leave you tired; it appears to blunt the next day’s training capacity. One analysis from the Sleep Foundation found that a 30-minute increase in the time it took someone to fall asleep was associated with roughly a one-minute decrease in exercise duration the following day. That’s a small number on its own, but it illustrates a real, measurable link between how you sleep and how you train.
A dedicated recovery space doesn’t fix sleep or training load by itself. What it does is lower the friction on the small daily habits, rolling out tight calves, stretching a stiff lower back, drinking water instead of skipping it, that otherwise get skipped when the tools are buried in a closet.
There’s also a scheduling benefit that’s easy to overlook. Most people plan their workouts on a calendar but treat recovery as something that happens automatically in the background. It doesn’t. A five-minute mobility session after a run, ten minutes of rolling before bed, a few ounces of water right after a lifting session: these are habits, and habits form more reliably when the cue (walking past the mat, seeing the roller on the shelf) and the action happen in the same spot every time. Behavioral researchers have long noted that reducing the number of steps between “deciding to do something” and “doing it” increases the odds it actually gets done. A recovery corner is essentially that principle applied to soft tissue work and hydration instead of, say, flossing or meal prep.
“Recovery isn’t the passive part of training, it’s the part where the actual adaptation happens. If the tools for it live in a closet, most people will skip it on a tired evening. If they’re set up and visible, they get used.”
Step-by-Step: Building Your Recovery Corner
Step 1: Choose the Location
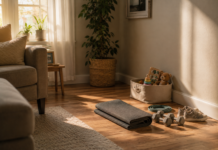
Look for roughly four feet by four feet of floor space: a bedroom corner, an underused hallway nook, a section of a home office, or the edge of a garage gym. Prioritize three things over square footage. First, proximity to where you already train or wind down, since a recovery station across the house gets used far less than one within a few steps of your workout area or bedroom. Second, access to an outlet if you plan to use a heating pad, massage gun, or small fridge. Third, decent airflow and, ideally, natural light, since a stuffy or dark corner discourages lingering even when the tools are right there.
Step 2: Lay Down a Supportive Floor Layer
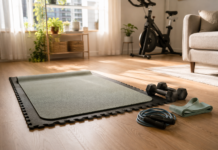
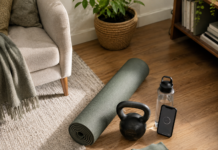
Interlocking foam mat tiles or one thick exercise mat give you a defined, cushioned zone to stretch and roll on without kneeling on bare floor or carpet fibers. Foam tiles (often sold for home gyms) are easy to wipe down, cheap to replace piece by piece, and make the space visually distinct, which matters more than it sounds like it should. A clearly marked-off area reads as “the recovery spot” the same way a yoga studio’s mat rows do, and that visual cue helps turn a five-minute stretch from an afterthought into a small ritual.
Step 3: Set Up a Self-Myofascial Release Station
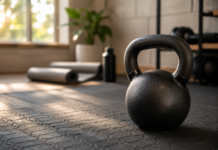
This is the foam roller, massage ball, and possibly a percussion massage device. Store them in an open basket or on a low shelf at the edge of the mat, not in a drawer, since visibility drives use.
On the evidence: a 2019 meta-analysis in Frontiers in Physiology pooled 21 studies (454 participants) on foam rolling and found that rolling done after exercise reduced perceived muscle pain by about 6 percent on average, with small improvements in recovered sprint and strength performance compared with no rolling at all. The authors described the overall effects as modest, sometimes negligible, and concluded the evidence more strongly supports foam rolling as a warm-up tool than as a dedicated recovery method. That’s a fair way to think about it: useful, low-risk, and worth five to ten minutes, but not a substitute for sleep, hydration, or appropriate training load if soreness is severe or persistent.
Step 4: Add a Stretching and Mobility Zone
A resistance band, a yoga strap, and a bit of open wall space for calf and hip flexor stretches round this out. Keep it simple. A short band looped over a sturdy hook works for shoulder and hip mobility drills without needing a full rack.
If you’re returning from an injury, dealing with chronic joint pain, or starting a new stretching routine after a long break from activity, check with a doctor or physical therapist first. Stretching a compromised joint or muscle the wrong way can aggravate an existing problem rather than help it.
Step 5: Build a Temperature Therapy Spot
A couple of reusable gel ice packs (kept in a small dorm fridge or the kitchen freezer nearby) and a heating pad or hot water bottle cover most common needs. As a general rule, cold is more often used in the first day or two after an acute strain or joint tweak to help with swelling and sharp discomfort, while heat tends to be used for lingering stiffness and tight muscles once the acute phase has passed. Neither is a treatment for an actual injury. If pain is sharp, doesn’t improve within a few days, or comes with swelling, bruising, or reduced range of motion, see a doctor rather than relying on ice or heat at home.
Step 6: Build a Hydration Station
A small side table with a reusable water bottle, a pitcher, or an electrolyte mix takes up almost no space and solves one of the most common recovery gaps: people simply forget to rehydrate after training. Public health guidance is straightforward here: inadequate water intake can contribute to unclear thinking, mood changes, overheating, and constipation, and needs go up with physical activity, heat exposure, and illness. Keeping water visibly staged in the recovery corner, rather than two rooms away in the kitchen, removes the “I’ll get to it” gap that leads to under-hydrating after a workout.
Step 7: Add Massage Tools Thoughtfully
A lacrosse ball, a handheld massage tool, or a percussion gun can supplement the foam roller for tighter, harder-to-reach spots like the glutes, feet, or upper traps. Massage in general has a mixed but real evidence base: a federal review found it helpful for short-term neck and shoulder tension, with weaker and more inconsistent evidence for chronic low-back pain. Use of professional massage therapy among U.S. adults more than doubled between 2002 and 2022, from about 4.8 percent to 10.9 percent, which reflects how mainstream tissue work has become as a wellness habit, not a claim that it treats a specific condition. Home tools are a reasonable, low-cost complement to that, not a replacement for a licensed therapist if you’re dealing with a persistent issue.
Step 8: Add Storage for Compression Gear
If you use compression socks, sleeves, or wraps, a small drawer, hook, or fabric bin keeps them from disappearing into a laundry pile. Worth knowing: the research on compression garments for recovery is still developing and somewhat inconsistent, with some studies showing a modest reduction in perceived soreness and others showing little measurable benefit. They’re comfortable for many people and low-risk, but treat them as a personal-preference add-on rather than a proven recovery accelerator.
Step 9: Layer In Calming, Rest-Supporting Elements
Swap a harsh overhead light for a warm-toned lamp, add a low stool or floor cushion for breathing exercises, and if the corner is near your bedroom, let it flow into your wind-down routine rather than treating it as a separate zone. This matters because sleep and training recovery are tightly linked: adults generally need seven or more hours of sleep a night, and a calmer, lower-light environment in the last hour before bed supports falling asleep faster, which in turn supports how much you can do the next day.
Step 10: Keep a Simple Recovery Log
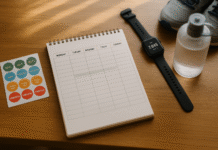
A small notebook or a wall-mounted whiteboard where you jot down sleep hours, soreness level, and hydration for the week turns the corner from a pile of gear into an actual system. You don’t need an app. Three lines a day is enough to notice patterns, like soreness stacking up on weeks when sleep drops below six hours.
Recovery Corner Setup Checklist
- 1. Pick a 4×4 ft spot near your training or sleep area
- 2. Lay foam tiles or a thick mat
- 3. Add a foam roller and massage ball
- 4. Hang a resistance band and yoga strap
- 5. Stock reusable ice packs and a heating pad
- 6. Set up a water bottle or pitcher station
- 7. Add optional massage tools
- 8. Store compression gear nearby
- 9. Swap in a warm lamp and a cushion or stool
- 10. Start a one-line-a-day recovery log
Recovery Corners for Small Apartments and Shared Spaces
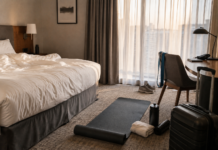
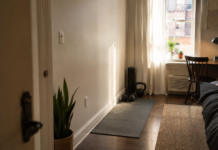
Not everyone has a spare wall to dedicate permanently, and that’s fine. A recovery corner can be semi-portable. Keep the mat rolled and stood upright behind a door, store the roller, band, and massage ball in a single open-top bin, and set the whole thing up on the same patch of floor each time, whether that’s next to the bed or in front of the couch. The consistency of the spot matters more than whether it’s permanently visible.
In a shared house or an apartment with roommates, a single labeled bin on a shelf works better than trying to claim floor space full time. The habit still holds: same bin, same corner of the living room, same five to ten minutes after training. If you travel often or split time between two places, consider a duplicate, cheaper starter kit (a compact roller and a resistance band pack down small) so the habit doesn’t disappear the moment you leave home.
For families with kids or pets in the house, a low basket with a lid keeps rolling tools out of reach of curious toddlers or chew-happy dogs, and a corner near a window rather than a high-traffic hallway reduces the odds of someone tripping over a foam roller left mid-session.
Budget-Tiered Setup Guide
You don’t need every item at once. Here’s roughly what each tier looks like, from bare-bones to fully equipped.
A Sample Weekly Recovery Routine
How you use the corner matters more than how it’s stocked. Here’s a realistic week built around a three or four day strength or cardio schedule, in line with the general guideline of two or more muscle-strengthening sessions a week plus regular aerobic activity.
Monday (training day): 8–10 minutes of foam rolling on major muscle groups worked, plus a full water bottle before you leave the corner.
Tuesday (rest or light activity): 10 minutes of static stretching, log sleep and soreness from the night before.
Wednesday (training day): Ice if a joint feels irritated, otherwise straight to rolling and stretching.
Thursday (rest day): Heat on tight areas for 15 minutes, gentle mobility work, no logging skipped.
Friday (training day): Massage ball on feet or glutes, rehydrate, short wind-down in the corner before bed.
Weekend: One longer 15–20 minute mobility and rolling session, plus a quick review of the week’s log.
Common Mistakes to Avoid
- Buying gadgets before basics. A percussion massage gun is nice, but a mat, a roller, and a water bottle within reach do more for consistency than a single expensive device that ends up in a drawer after week two.
- Picking a spot that’s out of the way. A recovery corner in a rarely used basement room gets used a few times and then forgotten. Choose a spot you already pass through on a normal day.
- Ignoring lighting and airflow. A cramped, dim closet corner discourages lingering even with great equipment in it. A warm lamp and a cracked window or small fan go a long way for very little money.
- Treating it as storage. Once gear starts piling up on the mat itself, laundry, boxes, whatever doesn’t have another home, the space stops functioning as a recovery zone and just becomes clutter that gets stepped around instead of used.
- Skipping the hydration piece. It’s the cheapest, simplest item on this list and the one most often left out, mostly because people assume they’ll “just grab water from the kitchen” and then don’t.
- Overbuilding before testing the habit. Start with the starter tier for two or three weeks before spending on the mid-range or advanced setup. If the corner doesn’t get used with basic gear, more gear won’t fix that; the location or the routine probably needs to change first.
When to Loop In a Professional
A home recovery corner supports everyday soreness and general maintenance. It is not a substitute for medical care. Talk to a doctor or physical therapist before starting a new exercise or stretching routine if you have an existing injury, a chronic condition, or you’re returning to activity after a long break. Seek medical attention for pain that is sharp, doesn’t ease within a few days, or comes with swelling, numbness, or a noticeable loss of range of motion. Foam rolling, ice, heat, and massage tools are meant to complement good training and professional care, not replace it.
Frequently Asked Questions
How much space do I actually need for a home recovery corner?
About four feet by four feet is enough for a mat, a roller, and a small side table. Many people fit a functional version into a bedroom corner or a section of a hallway.
What’s the single most important item to buy first?
A mat and a water source. Cushioned floor space makes stretching and rolling comfortable enough to actually do, and hydration is the most commonly skipped, lowest-cost piece of recovery.
Can a recovery corner replace physical therapy or medical treatment?
No. It’s built for general maintenance and everyday muscle soreness. Persistent pain, swelling, or an actual injury needs evaluation from a doctor or physical therapist, not a foam roller.
How long should a foam rolling session last?
Five to ten minutes is typical and lines up with what most of the research on foam rolling has tested. Longer sessions haven’t been shown to add much benefit.
Is ice or heat better for muscle soreness?
It depends on timing. Ice is more commonly used in the first day or two after an acute strain to manage swelling and sharp pain, while heat is more often used for lingering stiffness once the acute phase has passed. Neither treats an underlying injury, so see a doctor if pain persists.
Do I need a percussion massage gun, or is a foam roller enough?
A foam roller and a simple massage ball cover most needs. A percussion device is a nice add-on for hard-to-reach spots but isn’t required, and the evidence doesn’t show it as clearly superior to manual tools for general recovery.
References
- Centers for Disease Control and Prevention. “About Sleep.” https://www.cdc.gov/sleep/about/index.html
- Centers for Disease Control and Prevention. “Physical Activity Guidelines for Adults.” https://www.cdc.gov/physical-activity-basics/guidelines/adults.html
- Centers for Disease Control and Prevention. “Water and Healthier Drinks.” https://www.cdc.gov/healthy-weight-growth/water-healthy-drinks/index.html
- Sleep Foundation. “Exercise and Sleep.” https://www.sleepfoundation.org/physical-activity/exercise-and-sleep
- Wiewelhove, T., et al. (2019). “A Meta-Analysis of the Effects of Foam Rolling on Performance and Recovery.” Frontiers in Physiology. https://www.frontiersin.org/articles/10.3389/fphys.2019.00376/full
- National Center for Complementary and Integrative Health. “Massage Therapy: What You Need To Know.” https://www.nccih.nih.gov/health/massage-therapy-what-you-need-to-know