



















By Sophie Taylor
A 40-pound bag of playground sand, a duffel bag, and some contractor-grade tape will get you further than a lot of gym memberships. Odd object training, the practice of lifting, carrying, and wrestling with things that were never designed to be lifted, has been quietly popular in strongman gyms and military conditioning programs for decades. What’s changed is that more people training at home or on a budget are catching on to why it works so well, and why a $25 sandbag can do things a $600 dumbbell set can’t.
This guide breaks down what odd object training actually is, why the instability of a sandbag changes the way your muscles have to respond, how to build your own gear cheaply, and how to fit it into a week of training without turning your back into an experiment. It also covers the safety questions worth asking before you load up something that shifts, sloshes, or rolls.
What “Odd Object” Training Actually Means
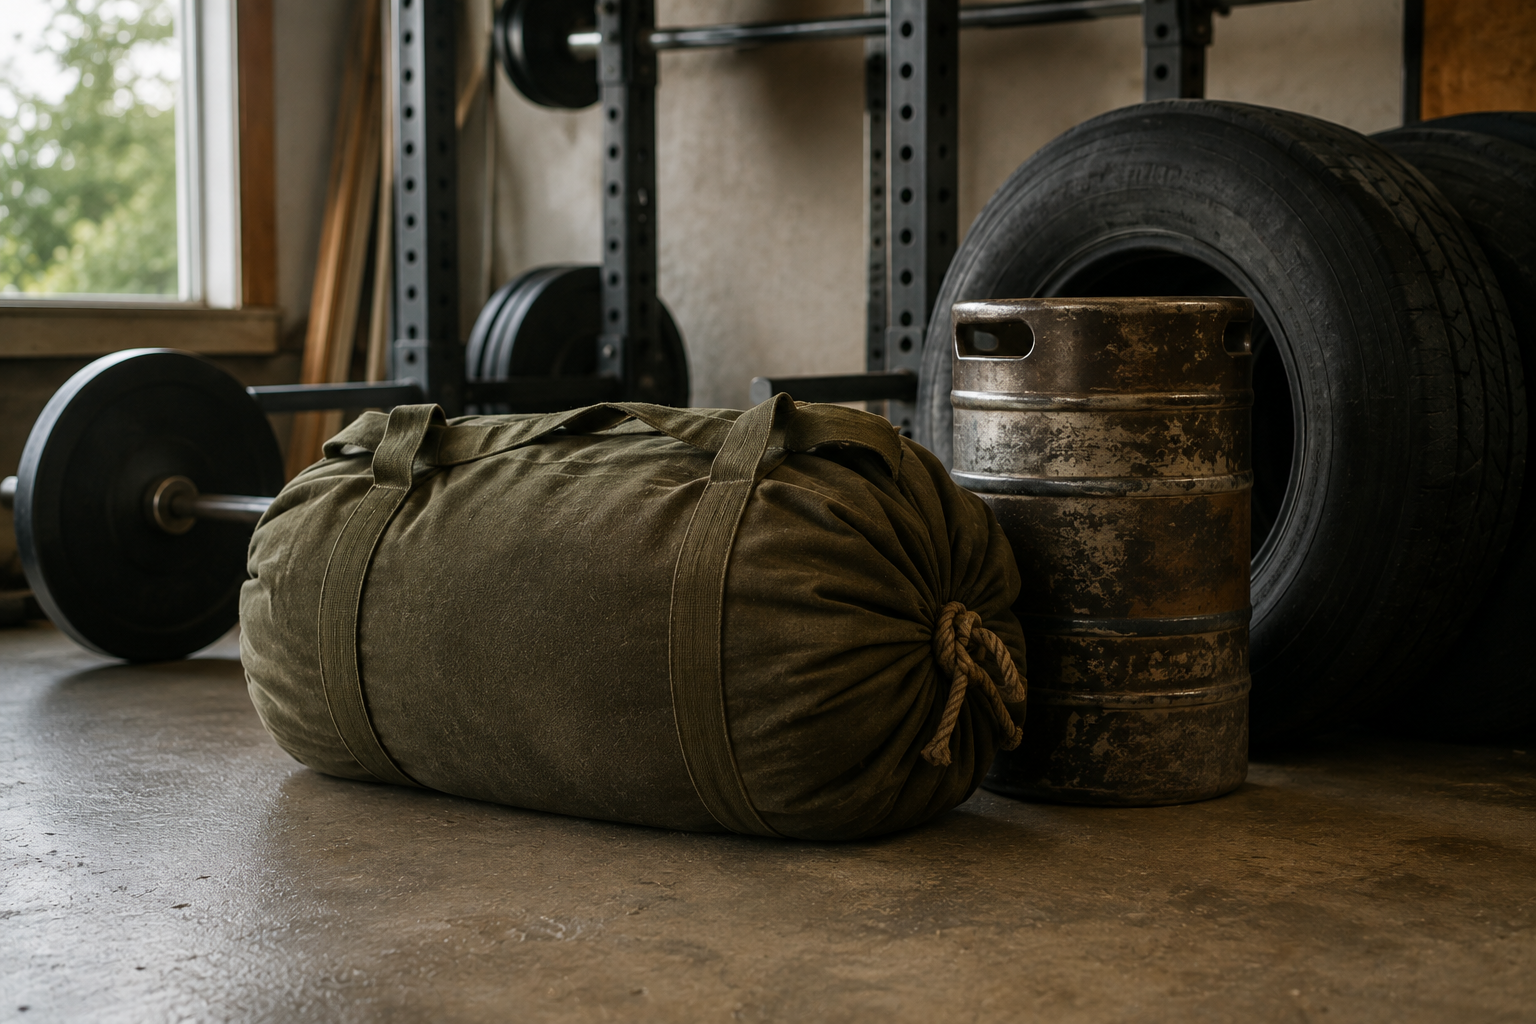
In strength and conditioning circles, an “odd object” is any implement that doesn’t have a fixed, symmetrical, predictable shape or weight distribution. A barbell is the opposite of an odd object: the plates are locked in place, the bar doesn’t move independently of your hands, and the weight is evenly distributed on both sides. A sandbag, a water-filled jug, a keg, an atlas stone, or a loaded backpack all behave differently. The load shifts as you move. It settles unevenly. Your body has to guess, in real time, where the center of mass is going next.
That unpredictability isn’t a flaw. It’s the entire point. Training with odd objects asks your stabilizing muscles, your grip, and your coordination to do work that a barbell or a machine simply doesn’t require, because those tools are engineered to remove instability, not create it.
Common odd objects used in home and garage training include:
- Sandbags (canvas, duffel-style, or purpose-built training bags filled with sand or gravel)
- Water-filled containers such as jerry cans, jugs, or kegs
- Loaded backpacks or duffel bags packed with books, bricks, or bags of rice
- Tires (for flips, drags, or strikes)
- Stones, logs, or heavy landscaping rocks
- Buckets filled with sand, water, or concrete
All of these share one trait: they cost far less than an equivalent set of barbells, plates, and a rack, and most of them can be built or sourced from a hardware store or a backyard.
Why Instability Changes the Training Effect
When you pick up a sandbag, the sand inside it moves. Every rep is slightly different because the load redistributes itself mid-lift. That forces your deep core muscles, the ones that brace your spine rather than move it, to work continuously through the set instead of just at the start and end of a rep. Strength coaches sometimes describe this as “anti-movement” training: your abs, obliques, and lower back aren’t trying to create motion, they’re trying to resist unwanted motion caused by the shifting load.
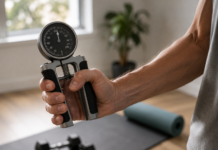
This carries over directly to grip and forearm demand. A shifting, awkward object recruits the hands and forearms harder than a machine handle or a barbell’s knurled grip, because your hands have to keep adjusting to stay locked on. Grip strength isn’t just a gym vanity metric. Research summarized by Healthline notes that grip strength is one of the strongest available predictors of overall muscle strength and endurance, and it has also been linked to cognitive function in both general and clinical populations. Average grip strength does decline with age, one commonly cited dataset from an Australian population study put men in their 20s at roughly 99 to 103 pounds of grip force and men in their 60s at roughly 83 to 88 pounds, with a similar downward pattern for women. Training grip through carries, holds, and awkward-object lifts is one of the more direct ways to work against that decline.
Quick Stats: Why Grip Work Matters
- Grip strength is considered one of the strongest simple predictors of overall muscle strength and endurance.
- Average grip strength in adults tends to decline from the 20s through the 60s and beyond in both men and women.
- Support-grip work (holding something heavy for time) and crush-grip work (squeezing) train different aspects of hand and forearm strength, and odd objects tend to demand both at once.
Source: Healthline, summarizing grip strength research and population data.
None of this means barbells and dumbbells are inferior. Fixed-weight tools are excellent for progressive overload because you can add small, precise increments of weight and track strength gains cleanly. Odd objects trade that precision for a different kind of demand: stabilization, grip, and full-body coordination under a load that fights back a little.
Sandbags vs. Barbells vs. Dumbbells vs. Kettlebells
Here’s how these tools stack up on the things that usually matter to someone training at home: cost, portability, and what they’re actually good for.
A practical approach many home trainers land on: use a barbell or dumbbells for the lifts where precise loading matters most (squats, presses, rows), and use sandbags and odd objects for carries, core work, conditioning finishers, and anything where a little chaos in the load is actually useful.
How to Build Your Own Sandbag for Under $30
You don’t need a $90 branded training bag to get the benefit. A duffel bag, some contractor bags, and sand or pea gravel from a hardware store will do the job. Here’s a straightforward build.
DIY Sandbag: Step-by-Step
- Gather materials. A sturdy canvas duffel bag or an army-surplus bag (roughly $10–$20), two or three heavy-duty contractor trash bags, packing tape or duct tape, and sand, pea gravel, or playground sand from a hardware or garden store (a 50-lb bag typically runs $5–$8).
- Double-bag the filler. Fill one contractor bag partway with sand, squeeze out excess air, and seal it tightly with tape. Slide that bag inside a second contractor bag and tape it again. This double layer is what keeps sand from working its way out through a single torn seam.
- Decide your fill weight. Start conservative. A 25–40 lb bag is plenty to learn technique on. You can always build a second, heavier bag once you know how you respond to the movements.
- Load the outer duffel. Place the taped sand packet(s) inside the duffel bag. Using two or three smaller filled packets instead of one large one lets the weight shift more (which is often the point), and makes the bag easier to carry unevenly for training variety.
- Close and test. Zip or cinch the duffel closed. Before your first real workout, pick it up gently and shake it lightly over a mat or grass, not your living room, to make sure nothing is leaking.
- Inspect before every session. Sandbags take abuse. Check seams and tape monthly, and retire or re-tape a bag at the first sign of fraying.
If you’d rather skip the DIY route, purpose-built training sandbags with internal fillable liners and multiple carry handles are widely available for $40 to $90 and tend to hold up longer under heavy, repeated use. For occasional training, a homemade version is a completely reasonable place to start.
Beyond Sandbags: Other Odd Objects Worth Using
Sandbags are the most accessible odd object, but they’re not the only one. A few others worth having in rotation:
Water-Filled Containers
A capped water jug, a jerry can, or an empty keg filled with water gives you a load that sloshes constantly, which is even more demanding on stabilization than sand. Water also lets you adjust weight in the moment simply by filling a container partway.
Loaded Backpacks and Duffels
Pack a sturdy backpack with books or bagged rice for rucking (weighted walking) or carries. This is often the cheapest possible entry point since most households already own a backpack.
Tires
A used tractor or truck tire, often free or nearly free from a tire shop, works for flips, drags, and sledgehammer strikes. Tire flips train the hips and posterior chain through a full range of motion that’s hard to replicate with standard equipment.
Stones and Logs
If you have access to a yard or a piece of land, a heavy, smooth stone or a section of log makes for genuine strongman-style training: loading it onto a platform, carrying it, or simply picking it up repeatedly.
Buckets
A five-gallon bucket filled with sand, gravel, or concrete (poured and cured with a rope handle embedded) is cheap, durable, and useful for carries and loaded step-ups.
“The equipment doesn’t need to be pretty. It needs to be heavy, safe to hold, and something you’ll actually pick up three times a week. A taped-up duffel bag full of sand meets that bar as well as anything in a commercial gym.”
Safety Considerations Before You Load Up
Odd object training is generally safe for healthy adults when approached with the same care as any resistance training, but the unpredictability that makes it effective also means form breakdown is a real risk if you rush the weight or the reps. A few points worth taking seriously:
- Start lighter than you think you need to. Because the load shifts, a 40-lb sandbag can feel considerably harder to control than a 40-lb dumbbell. Learn the movement pattern with a manageable weight before adding more.
- Protect your lower back on carries and lifts. Brace your core before lifting from the ground, keep the object close to your body, and avoid twisting under load. If a lift requires you to round your back significantly to complete it, the weight is too heavy for that movement yet.
- Warm up before loaded work. Mayo Clinic’s guidance on strength training specifically recommends warming up first and using proper form and technique to help avoid injury.
- Stop if something hurts, not just when something is hard. Muscle fatigue and burn are normal; sharp or joint-specific pain is not. Mayo Clinic’s guidance is direct on this point: if an exercise causes pain, stop it.
- Give muscle groups recovery time. A full day of rest between sessions that heavily tax the same muscle groups is a reasonable default drawn from general strength-training guidance.
- Check with a doctor before starting a new training program if you have an existing back, joint, hip, or cardiovascular condition, are pregnant, or haven’t exercised in some time. This is standard advice for any new resistance training approach, not unique to odd objects, but it applies here too since unstable loads add an extra layer of demand on the spine and core.
None of this is meant to be alarming. Loaded carries and lifts are already recommended as legitimate strength-building activity: the NHS explicitly lists “carrying heavy items” among its examples of muscle-strengthening exercise for adults, alongside resistance bands, bodyweight training, and weights. Odd object work fits squarely inside mainstream strength guidance, not outside it. The caution is simply about progressing sensibly, the same way you would with any new form of resistance training.
A Sample Odd-Object Circuit Workout
This is a full-body circuit built around a single sandbag, plus one optional second object (a loaded backpack or a tire, if available). It’s designed to take 25 to 35 minutes including warm-up, and works as a standalone session two or three times a week.
Sandbag Circuit: 4 Rounds
1. Sandbag Squat to Shoulder — 8 reps
Deadlift the bag off the floor, squat with it held at chest height, then press or heave it to one shoulder. Alternate shoulders each rep.
2. Bear Hug Carry — 40 seconds
Hug the bag against your chest and walk, keeping ribs down and core braced. Focus on steady breathing under load.
3. Sandbag Rows — 10 reps
Hinge at the hips with the bag on the floor in front of you, and row it to your torso, keeping your spine neutral throughout.
4. Overhead Carry or Backpack Rucking Lap — 30 seconds
Press the bag overhead and walk a short lap if shoulder mobility allows, or swap in a lap with a loaded backpack for a lower-skill option.
5. Rest — 60–90 seconds, then repeat
Complete 4 total rounds. Reduce reps or add rest if form starts to break down, especially on the carries.
If you’re adding a tire or a second sandbag into the mix once you’re comfortable with the base circuit, tire flips or a second loaded carry make a solid fifth station. Keep the total session length reasonable. Odd object circuits are demanding on the grip and core in particular, and those muscles fatigue faster than people expect.
Programming: How Often and How Heavy
The general public health guidance on strength training gives a useful baseline even for odd object work. The CDC recommends muscle-strengthening activity that works all major muscle groups on two or more days a week, in addition to (not instead of) 150 minutes of moderate aerobic activity or 75 minutes of vigorous activity weekly. Mayo Clinic adds that sessions don’t need to be long: about 20 to 30 minutes, two times a week, is enough to see strength improvements for most people, and even one well-executed set of an exercise provides real benefit.
Applied to sandbag and odd object training, that translates to something like:
- 2–3 sessions per week of dedicated odd-object work, with at least one rest day between sessions that heavily load the same muscle groups.
- Progress the fill weight gradually. Because you can’t add small five-pound increments the way you can with plates, consider building two or three bags at different weights (say, 25, 40, and 60 lbs) so you can progress in reasonable steps.
- Mix it with, not instead of, other training. Odd objects are excellent for carries, conditioning, and core stability, but a well-rounded program still benefits from exercises that let you track precise strength gains over time, like a barbell squat or a goblet-style dumbbell press.
That said, if a barbell and rack aren’t realistic for your space or budget right now, a couple of sandbags and a tire can carry an entire strength program for months. People have built serious, functional strength this way for a long time, well before commercial gyms existed.
What It Actually Costs to Get Started
Cost is usually the reason people look at odd object training in the first place, so it’s worth laying out the numbers plainly. A basic home barbell setup, bar plus a modest set of plates and a rack, tends to run somewhere between $150 and $600 depending on how much weight you buy and whether you need a squat stand. A pair of adjustable dumbbells that covers a useful range can run $150 to $400 on its own. Kettlebells are cheaper per unit but you’ll want at least two or three weights, which adds up.
A DIY sandbag, by contrast, costs somewhere in the neighborhood of $20 to $30 total: a duffel bag, a couple of contractor bags, tape, and one bag of sand or pea gravel from a hardware store. Build two or three at different weights and you’re still well under $100, with a set of tools that covers squats, presses, rows, carries, and core work. A free or near-free tire from a local shop adds flips and drags to the mix at no real cost. A loaded backpack, which most people already own, adds rucking and carries for the price of whatever you fill it with.
None of this means odd objects should replace every piece of gym equipment forever. It means the barrier to starting real strength training, the thing that keeps a lot of people from ever picking up something heavy on a regular basis, is much lower than most equipment marketing suggests. You can build a genuinely effective home training setup for the cost of a few take-out dinners, and add to it gradually as your budget and your strength both grow.
Common Mistakes to Avoid
- Overfilling the bag on day one. A shifting 60-lb load is a very different experience from a stable 60-lb barbell. Learn the movement patterns lighter first.
- Skipping the seam check. A torn contractor bag mid-set is messy and can cause you to drop the load awkwardly. A 30-second inspection before training prevents this.
- Using momentum instead of control on carries. Rushing a carry to “get it over with” is where lower back strain tends to happen. Slow, braced steps beat a fast, sloppy lap.
- Ignoring grip fatigue. If your hands are the limiting factor before your legs or back are, that’s normal with odd objects. Set the bag down and reset your grip rather than fighting to finish a rep with a failing hold.
- Never varying the carry position. Bear hug, shoulder, overhead, and offset carries each challenge the core differently. Rotating positions across sessions builds more well-rounded stability than repeating one carry style indefinitely.
Frequently Asked Questions
Is sandbag training as effective as barbell training?
They’re effective for different things. Barbells are better suited to tracking precise progressive overload for maximal strength. Sandbags and odd objects are particularly effective for grip, core stabilization, and full-body conditioning, because the shifting load forces continuous adjustment that a fixed barbell load doesn’t require. Many training programs use both.
How much sand do I need for a home sandbag?
A 50-lb bag of playground sand or pea gravel from a hardware store is enough to build one mid-weight training bag (around 40–45 lbs once packed, accounting for the bag material and packaging). Building two or three bags at different fill weights gives you more flexibility to progress.
Can beginners do odd object training safely?
Yes, with a lighter starting weight and attention to form. Because odd objects add instability on top of the base movement, beginners generally benefit from starting noticeably lighter than they would with an equivalent barbell or dumbbell exercise, and focusing on control before adding load.
What muscles does sandbag training work most?
Core and grip get disproportionate demand compared to fixed-weight training, because they’re doing continuous stabilization work rather than just moving the load. Beyond that, sandbag exercises like squats, carries, and presses still train the legs, back, shoulders, and arms much like their barbell or dumbbell equivalents.
Do I need special equipment to start, or will a duffel bag work?
A duffel bag, contractor trash bags, tape, and sand or gravel from a hardware store is enough to build a functional training sandbag for well under $30. Purpose-built training bags are a reasonable upgrade later, but they’re not required to get started.
How often should I train with sandbags or odd objects?
General strength-training guidance from the CDC and Mayo Clinic suggests at least two sessions per week targeting major muscle groups, with a rest day between sessions that load the same muscles heavily. Two to three odd-object sessions per week, mixed with other training or aerobic activity, is a reasonable structure for most healthy adults.
References
- Centers for Disease Control and Prevention, “Physical Activity Guidelines for Adults” — https://www.cdc.gov/physical-activity-basics/guidelines/adults.html
- NHS, “Physical activity guidelines for adults aged 19 to 64” — https://www.nhs.uk/live-well/exercise/exercise-guidelines/physical-activity-guidelines-for-adults-aged-19-to-64/
- Mayo Clinic, “Strength training: Get stronger, leaner, healthier” — https://www.mayoclinic.org/healthy-lifestyle/fitness/in-depth/strength-training/art-20046670
- Healthline, “Grip Strength” — https://www.healthline.com/health/grip-strength
This article is for general educational purposes and isn’t a substitute for individualized medical or fitness advice. Consult a doctor or qualified trainer before starting a new exercise program, especially if you have an existing injury or health condition.