
























By Ellie Brooks
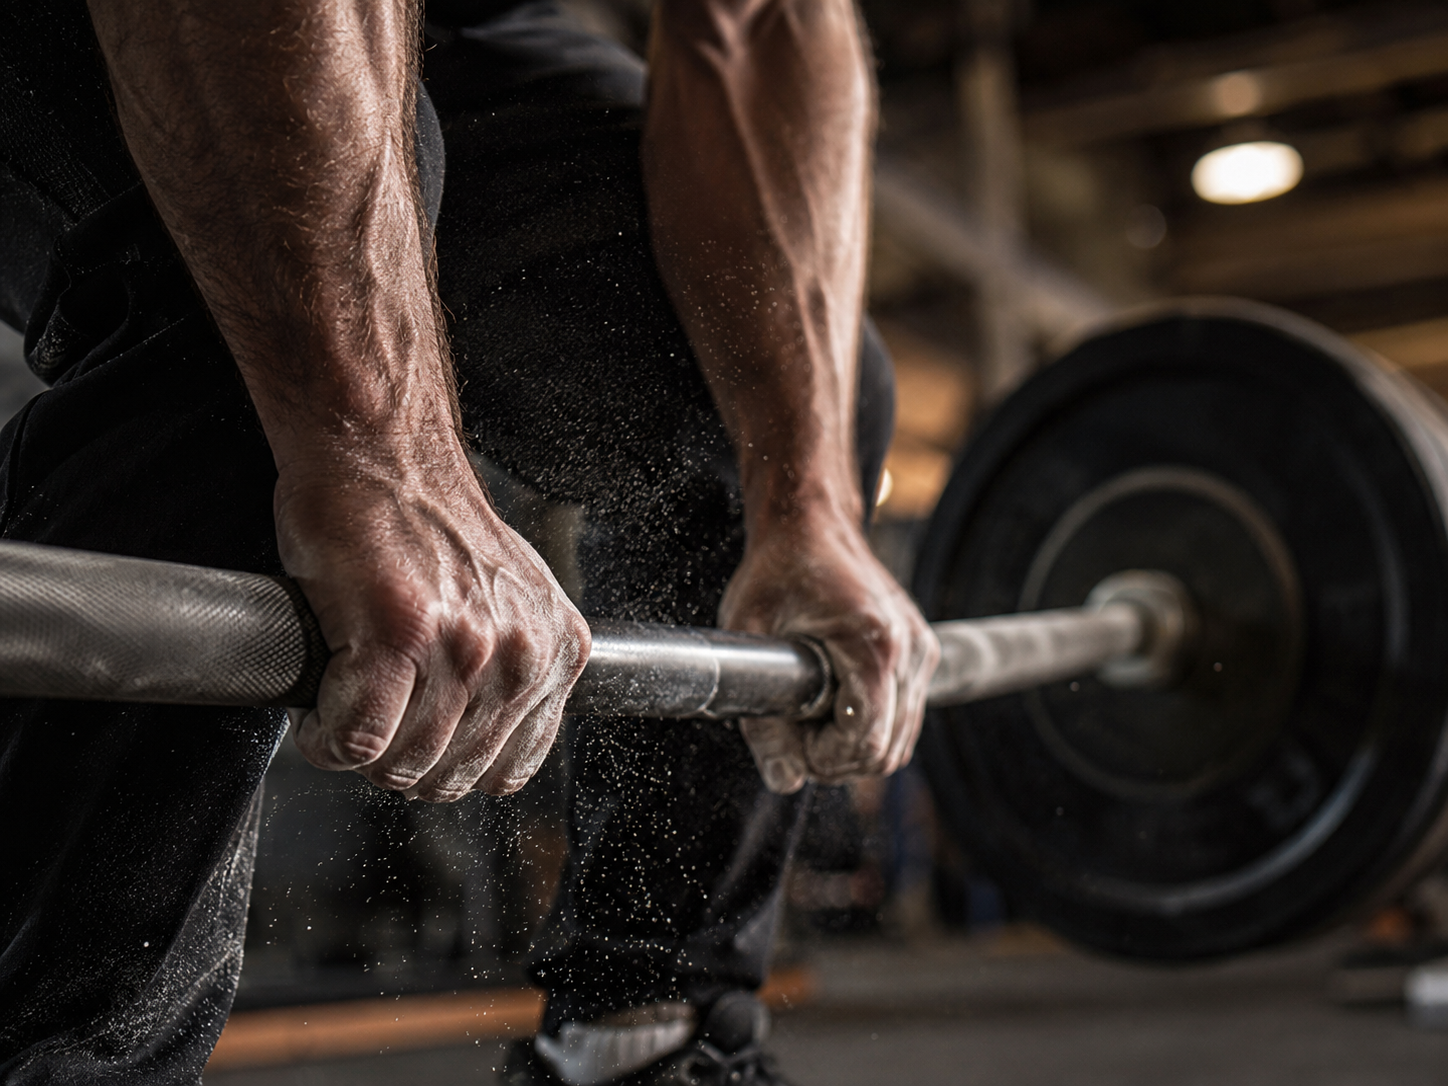
You add five pounds to the bar, set your feet, brace, and pull. Your back holds. Your legs drive. And then, halfway up, the bar starts sliding out of your hands before your hamstrings or spinal erectors have even had a chance to complain. That’s not a back problem. That’s a grip problem, and it’s one of the most common (and most ignored) bottlenecks in strength training.
Grip strength doesn’t get the attention that squats, deadlifts, and rows get, yet it’s often the actual ceiling on how much weight you can move, how long you can carry a loaded suitcase, or how confidently you can hang from a pull-up bar. This piece walks through why your hands give out before your posterior chain does, what the research says about grip strength as a marker of overall health, and a specific accessory protocol you can add to your training to close the gap.
What “Grip Fails Before Back” Actually Means
When people say their grip “fails first,” they usually mean one of three things happens during a heavy pull: the bar rolls out of their fingers, their forearms pump up and lock into a claw, or their hands simply open under load even though their legs and back still have gas left in the tank. Coaches sometimes call this a mismatch between prime movers and stabilizers. The muscles doing the big work (glutes, hamstrings, spinal erectors, lats) are large, built for sustained high force, and trained with heavy compound lifts multiple times a week. The muscles doing the small work (the finger and forearm flexors) are comparatively tiny, rarely trained directly, and asked to hold on for the entire duration of every heavy set you do.
Put another way: your deadlift only moves as much weight as your weakest working link can transmit. If that link is your grip, then no matter how strong your posterior chain becomes, your numbers stall until the hands catch up.
The Three Types of Grip (and Why Training Only One Isn’t Enough)
Grip strength isn’t a single quality. Strength coaches and grip-sport athletes typically break it into three categories, and most lifters only train one of them by accident, through whatever grip their exercises happen to require.
| Grip Type | What It Feels Like | Where It Shows Up |
|---|---|---|
| Crush Grip | Closing the fingers toward the palm against resistance | Hand grippers, handshakes, closing a jar lid |
| Support Grip | Holding an object still for time under a heavy static load | Deadlifts, rows, farmer’s carries, pull-ups |
| Pinch Grip | Squeezing a flat or narrow object between thumb and fingers | Carrying plates by the smooth edge, handling boxes, some grappling positions |
Support grip is the one that fails during a deadlift or a heavy row, since the hand isn’t actively squeezing so much as passively resisting the bar as it tries to pull your fingers open. That distinction matters for training: if you only do crush-grip work (like squeezing a hand gripper), you can get a stronger handshake without fixing the exact failure point that’s stalling your pulls.
The Muscles Behind the Weak Link
Three forearm muscles do most of the work when you hang onto a bar: the flexor digitorum profundus, the flexor digitorum superficialis, and the flexor pollicis longus (the main thumb flexor). The first two are considerably larger and produce far more force than the thumb flexor, and research has found their size correlates strongly with overall forearm muscle mass. Because these muscles are small relative to the glutes, quads, and back musculature doing the “real” lifting, they fatigue faster and adapt more slowly unless you give them targeted work.
There’s also a mechanical piece: as resistive force increases, the middle joints of your fingers (the interphalangeal joints) tend to extend, essentially prying your hand open. Once that extension passes a certain point, no amount of forearm effort keeps the bar in your hand. That’s the moment your grip “gives out,” and it’s a mechanical failure as much as a strength one, which is part of why grip training tends to have a strong technical component alongside the raw strength component.
“Adaptations that occur after a select type of training are specific to the particular demands imposed.” In practice: crushing a hand gripper won’t automatically fix a deadlift grip that fails from an open-hand pry. You have to train the grip pattern you actually need.
Why This Is Worth Fixing (Beyond Your Deadlift Number)
Grip strength turns out to be one of the more interesting variables in health research, largely because it’s cheap to measure and correlates with a lot more than forearm size. The Prospective Urban Rural Epidemiology (PURE) study, which followed nearly 140,000 adults across 17 countries, found that for every 5-kilogram decrease in grip strength, overall mortality risk rose by roughly 16 percent, cardiovascular and non-cardiovascular mortality each rose by around 17 percent, and risk of stroke and heart attack rose by about 9 percent and 7 percent respectively. Grip strength turned out to be a stronger predictor of death in that cohort than systolic blood pressure, a genuinely striking finding for a measurement that takes about ten seconds with a hand dynamometer.
To be clear, grip strength is a marker, not a magic organ. Researchers generally interpret it as a proxy for overall muscle mass, neuromuscular function, and general physical condition rather than something that itself protects your heart. Still, the practical takeaway holds: a weak, undertrained grip tends to travel with a weaker, less resilient body overall, and training it is a low-cost way to chip away at that pattern while also fixing your lifts.
Signs Your Grip Is the Real Limiting Factor
You’re probably grip-limited, not back-limited, if:
- Your hands, not your lower back or hamstrings, are the sore or “cooked” muscle group the day after deadlifts or rows.
- The bar visibly rotates or slides in your hands before the rep looks hard anywhere else.
- You can rep a weight for reps using straps that you can barely lift once without them.
- Your forearms burn and lock up well before your target rep range on rows, shrugs, or farmer’s carries.
- Pull-up or hang time is capped by your hands opening, not by your lats or arms giving out.
If two or more of these sound familiar, the fix isn’t more back volume. It’s a dedicated grip block layered onto what you’re already doing. A simple way to confirm the diagnosis: pull a working deadlift set with straps on, then repeat the same weight for the same reps without them a session or two later. If the strapped set feels noticeably easier through the whole rep and not just at the start, your hands are the bottleneck, not your posterior chain.
How to Fix It: Building a Grip That Keeps Up
The general approach that works, according to both strength coaches and the limited research on forearm training, is straightforward: train support grip directly with heavy holds and carries, add supplementary crush and pinch work for balance, and progress your grip the same way you’d progress a squat or a bench press (gradually, with tracked loads, not as an afterthought tacked onto the end of a session).
Principle 1: Train the Grip You Actually Need First
Since support grip is almost always the one that fails on compound lifts, it should get priority. That means barbell holds, rack pull holds, farmer’s carries, and dead hangs, all done with a double overhand grip for as long as your hands allow before you switch to straps or a mixed grip. Going double overhand on warm-up sets, even once it gets uncomfortable, gives your hands more total loaded time than switching to assistance too early.
Principle 2: Don’t Skip the Wrist
This one surprises people. A study on wrist extensor training (working the muscles on the back of the forearm, not the gripping muscles themselves) found that eight weeks of dedicated wrist extension work, performed five times a week, increased maximal grip force by about 19 percent. The likely explanation is that strong wrist extensors help hold the wrist in a stable, slightly extended position, which lets the finger flexors generate force more efficiently. A grip program that ignores wrist extensors is leaving strength on the table.
Principle 3: Progress Implement Size Gradually
Grip force isn’t constant across bar thickness. Most research points to roughly 55 millimeters (about 2.2 inches) of diameter as close to the sweet spot for maximum grip force output, with force dropping off on either side of that. Thick-bar or fat-grip training is genuinely harder (one study found deadlift 1-rep maxes dropped by about 41 percent when switching from a standard bar to a much thicker one), so it’s a useful overload tool, but it shouldn’t replace standard-bar work entirely since the carryover isn’t perfectly one-to-one.
The 4-Week Grip Accessory Protocol
Add this on top of your normal training, twice a week, on days that don’t already tax your forearms heavily (i.e., not the day after max-effort deadlifts).
Principle 4: Use Technique as a Bridge, Not a Crutch
While you build grip strength, a few technique adjustments buy you time on heavy sets without stalling your training entirely.
- Hook grip: Wrapping your thumb under your fingers, common in Olympic lifting, creates extra friction and is symmetrical (unlike a mixed grip), though it takes practice to tolerate the thumb pressure.
- Mixed grip: One palm forward, one back. Effective, but the asymmetry can put uneven stress through the shoulders and biceps tendon, so introduce it gradually and watch for strain, particularly in the underhand arm.
- Chalk: A simple, low-tech fix for sweaty or slick hands that costs you nothing in grip development.
- Straps: Useful for lifters who aren’t training for a grip-limited sport and want to overload the back or legs without the hands capping the set. The tradeoff is straightforward: straps let you lift more weight now, at the cost of not training the grip that would otherwise catch up.
None of these fix weak grip strength on their own. They just let you keep training the rest of the lift while the accessory work above does the actual strengthening.
The Real-World Cost of a Weak Grip
The deadlift is the clearest example, but a grip-limited support hold shows up everywhere in a training program that involves pulling. Barbell and dumbbell rows stall for the same reason: the lats and rhomboids could keep pulling, but the hands open first and the set ends early. Pull-ups follow the same pattern, since a lifter with plenty of back and arm strength left can still drop off the bar because their fingers gave out. Farmer’s carries and loaded walks, a staple in strongman and general conditioning programs alike, are essentially a pure test of support grip under time, and a weak grip there caps the whole exercise regardless of how strong the trunk and legs are.
It isn’t just a gym issue either. Grip is one of the few strength qualities that shows up directly in daily tasks: carrying grocery bags in from the car, hauling a suitcase through an airport, opening a stiff jar, holding a toddler on one hip while managing a bag with the other hand. Occupational therapists and physical therapists who work with older adults often use grip strength as a rough proxy for how well someone can manage these everyday demands, which is part of why it shows up so often in aging and frailty research, not just strength-sport literature.
There’s also a training-economy argument for fixing it. If your grip caps your deadlift at a load your back and legs could clearly exceed, you’re leaving muscle growth and strength adaptation on the table in exactly the muscles you’re trying to train. Two lifters doing the same program can end up with very different squat, deadlift, and row progress simply because one of them can hold onto heavier loads for longer sets. Closing that gap doesn’t just fix your grip. It unlocks the training stimulus your back and legs were already capable of using.
Common Mistakes That Stall Grip Progress
- Training only crush grip. Hand grippers build a strong handshake but don’t transfer well to a support-grip failure on a deadlift.
- Skipping wrist work. Wrist extensor training is one of the higher-leverage, most overlooked pieces of a grip program.
- Living in straps. Using straps on every heavy set removes the exact stimulus your grip needs to adapt.
- Jumping straight to fat grips. Thick-bar training is a good overload tool once you have a base, but starting there before you can grip a standard bar well just breeds frustration.
- Testing to full failure too often. Grinding every hold or hang to complete failure adds fatigue without much extra benefit; stopping a few seconds short of total failure most sessions still drives progress with less wear on the joints and tendons.
How Long Before You See a Difference
Grip adaptations tend to show up in two stages. Within the first two to three weeks, most people notice the bar feels more secure and their hands fatigue later in a set, largely from improved technique and neural efficiency. Measurable strength gains, the kind that let you add weight to a hold or extend a farmer’s carry, generally take four to eight weeks of consistent accessory work to show clearly, which lines up with typical strength-training adaptation timelines for smaller muscle groups. Staying patient and consistent matters more than any single exercise choice.
Fitting a Grip Block Into an Existing Program
You don’t need to restructure a training plan around grip work; you need to slot it in where it won’t compete with the lifts that already need fresh hands. A useful rule: keep grip accessory work at least a day away from your heaviest deadlift or row session, since fatigued forearms going into a max-effort pull will make the whole session feel worse without adding much benefit. Placing the protocol on an upper-body accessory day, a conditioning day, or right after a lighter lower-body session tends to work well for most weekly splits.
Track it the same way you’d track any other lift: write down hold times, carry distances, and gripper loads in your log. Grip strength is easy to undertrain precisely because it’s easy to skip logging, and if you’re not tracking numbers, it’s hard to tell whether the accessory work is actually doing anything or just adding fatigue. A few minutes of hold-and-carry work, tracked consistently for a month, tends to produce a clearer trend line than most lifters expect.
Putting It Together
A grip that fails before your back does isn’t a flaw to work around forever. It’s a signal that one part of the chain hasn’t been trained with the same intent as the rest of it. Prioritize support grip work since that’s what fails on compound lifts, don’t neglect the wrist extensors, progress implement thickness gradually, and use chalk, hook grip, or straps as a bridge rather than a permanent fix. Give it a full month of consistent accessory work before judging results, and check in on how your working sets feel, not just what a hand dynamometer says.
Frequently Asked Questions
Why does my grip give out before my back or legs feel tired on deadlifts?
Because the finger and forearm flexor muscles are small relative to the glutes, hamstrings, and back muscles doing the main work, and most training programs never target them directly. They fatigue and reach mechanical failure (the fingers being pried open by the load) well before the larger, better-trained muscles hit their limit.
Will lifting straps make my grip weaker over time?
Straps themselves don’t weaken your grip, but relying on them for every heavy set removes the loaded stimulus your hands need to adapt. Using straps occasionally, on your heaviest sets or highest-volume back days, while still training grip directly elsewhere in the week, is a reasonable middle ground.
How often should I train grip strength each week?
Two focused sessions a week, on days separate from your heaviest pulling work, is enough for most lifters to see steady progress without the forearms staying chronically fatigued going into deadlifts or rows.
Are hand grippers enough to fix a deadlift grip problem?
Not on their own. Hand grippers train crush grip, while deadlifts and rows fail due to weak support grip (an open-hand hold under static load). Grippers are a useful supplement, but holds, carries, and dead hangs should be the priority.
Is grip strength really connected to overall health, or is that overstated?
Large population studies, including the PURE study following almost 140,000 adults across 17 countries, have found grip strength to be a strong predictor of overall mortality and cardiovascular risk, independent of blood pressure. Researchers generally treat it as a proxy for overall muscle mass and physical condition rather than a protective factor by itself, but the association is well documented and consistent across different countries and income levels.
What’s a realistic dead hang time to work toward?
There’s no official age or sex-based standard, but as a rough fitness-level guide: beginners often manage 10-15 seconds, intermediate lifters 60-90 seconds, and advanced athletes 2 minutes or more. Progress is highly dependent on body weight relative to grip strength, so track your own trend over weeks rather than comparing directly to someone else’s number.
References
- Leong DP, et al. “Prognostic value of grip strength: findings from the Prospective Urban Rural Epidemiology (PURE) study.” The Lancet, 2015. thelancet.com
- NEJM Journal Watch / Cardio Exchange summary of the PURE grip strength findings. blogs.nejm.org
- Stronger by Science. “The Evidence-Based Guide to Grip Strength Training & Forearm Muscle Development.” strongerbyscience.com
- Feigenbaum J. “The Grip Problem.” Starting Strength. startingstrength.com
- Marathon Handbook. “How Long Can You Dead Hang?” marathonhandbook.com
- Deadhangs.com. “Grip Strength Training With Dead Hangs: The Complete Guide.” deadhangs.com
- CDC. “What Counts as Physical Activity for Adults.” Physical Activity Basics. cdc.gov