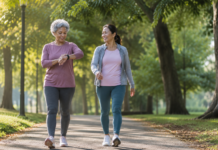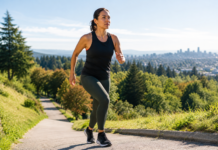












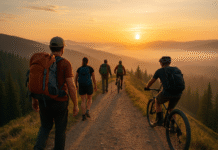



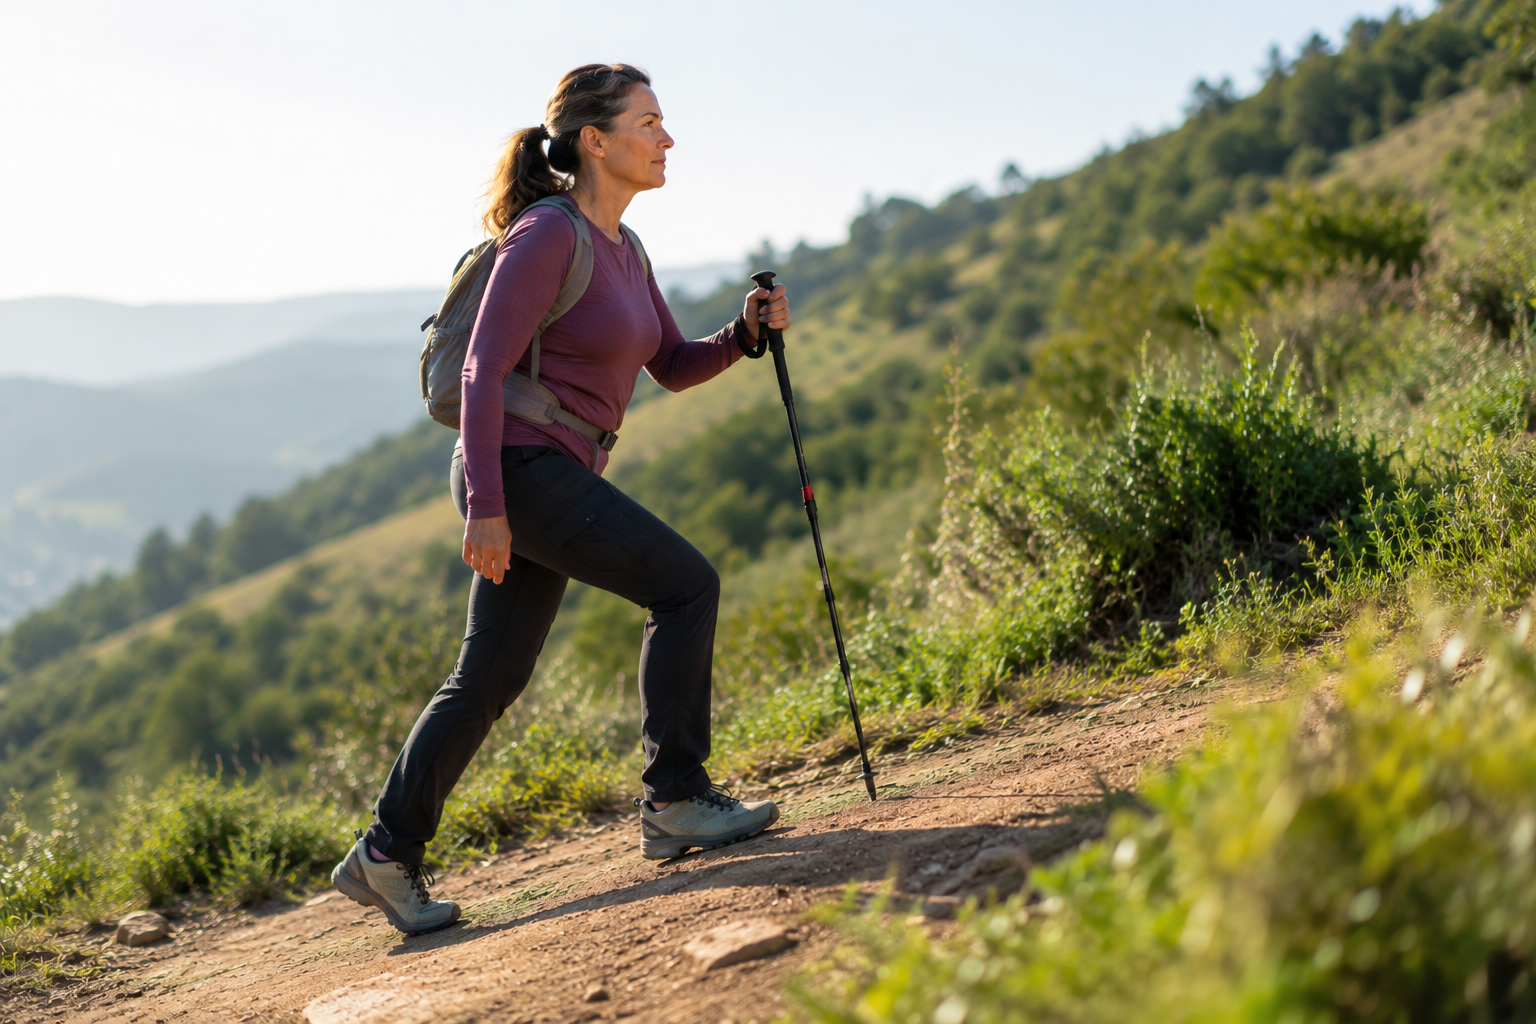
The first quarter-mile of a climb usually feels fine. Then the trail steepens, and a dull ache settles behind the kneecap or along the inner knee. Uphill walking is not simply “flat walking with extra effort.” Grade changes how the knee absorbs force, how long the quadriceps stay under tension, and how much work the hip and calf are asked to contribute. Most of the knee discomfort people report on climbs traces back to patellofemoral loading: the pressure between the kneecap and the groove it slides in on the thigh bone, which rises as the knee bends further and stays bent longer with each step.
This guide breaks uphill technique into specific, correctable steps rather than vague advice to “walk smarter.” Each section addresses one mechanical variable: stride length, trunk position, cadence, footwear, and pole use. It closes with strengthening work that supports the knee specifically for hill terrain, guidance on when the pain is a signal to get evaluated rather than coached through, and a reference list drawn from gait biomechanics and clinical rehabilitation sources.
It is written for recreational walkers and hikers who notice knee discomfort specifically on grades, whether that grade is a neighborhood hill, a treadmill incline setting, or a mountain trail, rather than for people managing a diagnosed knee condition. The corrections below are sequenced deliberately: stride and trunk position come first because they change the mechanics of every subsequent step, cadence and equipment choices come next because they refine that base pattern, and strength work comes last because it is what allows the improved technique to hold up over longer distances and steeper grades.
Why Hills Provoke Knee Pain That Flat Ground Doesn’t
On level ground, the knee moves through a small range of flexion during stance, and the quadriceps contract briefly to control that motion. Add an incline, and two things change at once: the ankle has to dorsiflex more to place the foot on the rising surface, and the knee typically bends further and for a longer portion of the stride to keep the trunk moving forward over the foot. Deeper, longer-duration knee flexion under body weight increases the pressure between the patella and the femur, a variable researchers call patellofemoral joint stress.
Interestingly, not all incline research points toward the knee getting harder to manage the steeper the grade becomes. A biomechanical analysis of older adult walkers by Higgins and colleagues found that peak knee abduction moment, a marker linked to load on the inner (medial) side of the knee, actually dropped at each ten percent increase in incline compared with level walking. That finding runs counter to the common assumption that hills are automatically harder on the knee joint in every respect; the load simply shifts from a side-to-side stress pattern toward more of a front-of-knee, quadriceps-driven pattern, which is why patellofemoral discomfort, not the deep inner-knee pain associated with osteoarthritis flare-ups, is what most hill walkers actually describe.
Separate electromyography work by Himmelreich and colleagues recorded roughly 25 percent more gluteus maximus activity at a 10 percent incline compared with level walking, and a broader muscle-activity study by Wall-Scheffler and colleagues confirmed that increasing grade significantly raises activity in the glutes, hamstrings, and hip adductors. Both point to the same practical conclusion: uphill walking is supposed to be a hip-and-glute-driven task. When the hips are weak, deconditioned, or simply not recruited well, the knee and quadriceps absorb the load the glutes should be handling, and that overload is where patellofemoral pain tends to start.
Clinical resources on patellofemoral pain syndrome echo this from the rehabilitation side. Physio-pedia’s summary of the condition notes that pain specifically on uphill walking is often associated with tight calf muscles or impaired gluteal control, and that the strongest evidence-based treatment combines hip and knee strengthening rather than knee exercises alone. That single detail, calf tightness and hip weakness showing up together in people who hurt going uphill, shapes several of the technique fixes and exercises below.
There is also a tendon component worth naming. The patellar tendon, which connects the kneecap to the shin bone, transmits the force the quadriceps generate to extend the knee. On a climb, that tendon stays under tension for a larger share of each stride than it does on flat ground, simply because the knee remains bent longer while the leg is loaded. A tendon that has not been conditioned to handle sustained tension, rather than the quick, brief loading of flat walking, will often signal that mismatch as a dull ache at the bottom of the kneecap partway through a climb. This is one more reason strength work matters as much as technique: tendons adapt to the specific loading pattern they are trained under, and flat-ground walking alone does not train them for hills.
Step-By-Step Technique Corrections
Step 1: Shorten Your Stride
A long, reaching stride uphill forces the front knee into a deeper bend the moment weight lands on it, and it delays the point at which the hip can take over the push. Shortening the stride, letting the front foot land closer under the body rather than reaching ahead, reduces how far the knee has to travel through its flexed range before the glutes and hamstrings engage. On a moderate grade, aim for a stride roughly 10 to 20 percent shorter than your flat-ground pace. It will feel like less ground covered per step; that is the point. The energy cost of incline walking rises steeply with grade regardless of stride pattern, so shortening the stride is about redistributing load, not avoiding effort.
Step 2: Add a Slight Forward Lean From the Ankles
A forward lean that comes from bending at the waist just rounds the lower back and does nothing for the knee. The lean that helps comes from the ankle: the whole body tips forward as a single unit, so the hip stays stacked over the pushing leg instead of trailing behind it. This keeps the glutes in a mechanically strong position to extend the hip and drive the body upward, taking work off the quadriceps and the kneecap. A useful cue is to imagine a straight line running from ankle through hip to shoulder, tilted forward as one piece, rather than a bent line at the waist.
Step 3: Increase Cadence, Shorten Ground Contact
Taking quicker, lighter steps rather than slow, heavy ones reduces the time the knee spends under load at any single flexion angle. Instead of one long, effortful push per stride, quicker cadence spreads the same climbing work across more, smaller contractions. Many people intuitively slow their cadence on a hill because it feels harder, when a slightly faster cadence with a shorter stride is usually the combination that feels easier on the front of the knee.
Step 4: Match Footwear and Traction to the Terrain
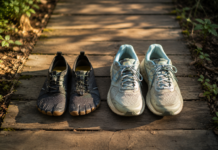
Footwear affects uphill knee mechanics in two ways. First, traction: a shoe or boot that grips loose gravel, wet rock, or soft dirt lets you commit weight fully to each step instead of tensing the quadriceps defensively against a slip, a habit that quietly increases patellofemoral load over the course of a hike. Second, heel-to-toe drop and midsole stiffness change how much the ankle has to dorsiflex to get the foot flat on an angled surface; if the ankle can’t dorsiflex enough, the knee bends further to compensate. Trail shoes with a moderate to aggressive lug pattern and a flexible-enough forefoot are generally a better match for graded terrain than a stiff, low-drop minimalist shoe, though individual ankle mobility varies enough that this is a starting point rather than a fixed rule.
Step 5: Use a Trekking Pole (or Two) on Steeper or Longer Climbs
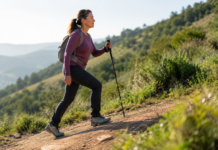
Poles let the arms and shoulders absorb a share of the propulsive work that would otherwise fall entirely on the legs, and they add a stable third and fourth point of contact on uneven ground, which reduces the defensive quadriceps bracing described above. Nordic pole-walking research summarized in general reviews of pole use has documented improvements in exercise capacity, heart rate response, and blood pressure across a range of populations when poles are used consistently, reflecting a genuine change in how the whole body distributes exertion rather than just perceived effort. For a standard uphill grade, planting a single pole opposite the leading leg and pushing through it as that leg drives upward is enough to feel a difference; on steep or loose sections, two poles used in an alternating rhythm give more consistent support.
| Common Mistake | Technique Fix | Why It Helps the Knee |
|---|---|---|
| Long, reaching stride | Shorten stride 10 to 20 percent versus flat ground | Limits how deep the knee bends before the hip takes over |
| Bending forward at the waist | Lean forward from the ankles as one unit | Keeps hips stacked over the driving leg, shifting work to glutes |
| Slow, heavy steps | Quicker cadence, lighter ground contact | Reduces time the kneecap spends under peak pressure per step |
| Stiff, low-traction footwear | Trail shoe with grippy lugs and forefoot flex | Cuts defensive quad bracing against slipping |
| No pole support on steep grades | Single or double trekking pole use | Shares propulsive load with the arms and shoulders |
Adjusting the Technique for Different Uphill Terrain
The five corrections above hold up across surfaces, but the specifics shift depending on where the incline happens.
Treadmill incline: Because the belt moves at a fixed speed, cadence is partly set for you, so the main variables to control are stride length and lean. Resist the urge to hold the front handrails; gripping them removes the forward lean that keeps the hips over the driving leg and shifts load right back onto the quadriceps and kneecap. If the incline feels too steep to walk without holding on, lower the grade rather than compensate with the rails.
Paved neighborhood hills: Consistent, predictable footing means traction is less of a concern, so the stride-length and cadence adjustments carry most of the benefit. Pavement is also unforgiving compared with dirt, so a shoe with reasonable cushioning matters more here than aggressive lugs.
Singletrack trail: Uneven footing changes step to step, which is exactly where a trekking pole earns its keep and where traction-focused footwear matters most. Expect the stride to vary naturally with the terrain rather than staying perfectly uniform, and let the pole take up the slack on any step that feels unstable.
Stairs or steep pitches: When the grade gets steep enough that normal walking mechanics break down, shortening the stride further and driving through a slightly turned-out step, foot angled a few degrees outward, can reduce the peak knee flexion angle at the top of the movement. This is a short-term adjustment for brief steep sections, not a replacement for the general technique on longer, moderate climbs.
Strengthening Exercises That Support the Knee on Hills
Technique changes reduce load on a given climb. Strength work changes what the knee can tolerate on the next one. Because uphill walking is largely a hip and calf task with the quadriceps managing the knee’s flexed position, the most useful exercises target the glutes, the quadriceps in a knee-friendly range, and calf and ankle mobility together, matching what Physio-pedia describes as the combined hip-and-knee approach with the best supporting evidence for patellofemoral pain.
Four Exercises for Hill-Ready Knees
- Step-ups (low box or stair): 3 sets of 10 to 12 per leg. Drive through the heel of the stepping leg and control the descent slowly; this rehearses the exact hip-extension pattern used on a climb.
- Terminal knee extensions (band or cable): 3 sets of 12 to 15 per leg, working through the last 30 degrees of knee extension. This range loads the quadriceps with minimal patellofemoral compression, useful for building strength without provoking pain.
- Single-leg glute bridges: 3 sets of 10 to 12 per side. Directly targets the glute strength that Himmelreich’s and Wall-Scheffler’s EMG data show is demanded on graded terrain.
- Standing calf raises with a hold: 3 sets of 15, holding the top position for 2 seconds. Improves ankle dorsiflexion range and calf endurance, addressing the tight-calf pattern linked to uphill knee pain in clinical literature.
Two to three sessions a week, spaced with at least one rest day between, is enough for most recreational hill walkers to notice a difference within four to six weeks. Keep every exercise pain-free; working through a hip or knee movement while adding compensation elsewhere teaches the same faulty pattern the exercises are meant to fix.
A short warm-up before the strength session, or before a hike itself, pays off disproportionately for this particular combination of muscles. Five minutes of easy walking on flat ground followed by a set of bodyweight calf raises and a few slow bodyweight squats raises tissue temperature in the quadriceps, calves, and patellar tendon before they are asked to work through a longer range under load. Skipping the warm-up on a cold morning trailhead is a common, avoidable contributor to early-climb knee soreness that has nothing to do with strength or technique.
Progression matters more than any single exercise. Start with bodyweight step-ups on a low box, six to eight inches, before moving to a knee-height step, and add resistance to terminal knee extensions only once the full pain-free range feels controlled. Rushing the height or load on step-ups in particular tends to reintroduce the same deep-knee-flexion pattern the exercise is meant to correct.
When to See a Physician or Physical Therapist
The technique and strength adjustments above are aimed at general uphill efficiency, not at treating an existing injury. Mild, short-lived soreness after a long or unusually steep climb, especially early in a hiking season, is common and typically resolves with rest and the corrections described here. Persistent knee pain, pain that worsens from one hike to the next, swelling, a sense of instability, or pain that shows up on flat ground as well as hills is a different situation and warrants a proper evaluation by a physician or physical therapist rather than continued self-coaching. A clinician can rule out meniscus or ligament involvement, assess for structural issues that technique alone will not fix, and build a rehabilitation plan matched to the actual diagnosis.
A useful rule of thumb: soreness that fades within a day or two and responds to the exercises above is training feedback. Pain that lingers past 72 hours, returns earlier in each subsequent walk, or is accompanied by clicking, locking, or visible swelling around the kneecap is a signal to stop self-managing and book an appointment. Bringing a specific description, which grade, which point in the stride, and what the sensation feels like, to that appointment gives a physical therapist or physician a much faster starting point than a general complaint of “knee pain on hills.”
Putting It Together on the Trail
None of these five corrections works in isolation as well as it works alongside the others. A shortened stride without a forward lean still overloads the quadriceps; a forward lean without adequate cadence just shifts fatigue rather than reducing it. Start with the stride and lean together on a familiar, moderate hill, add cadence awareness once those two feel automatic, then layer in footwear and pole choices for the specific terrain ahead. Most walkers find that within two or three deliberate practice sessions, the adjustments stop requiring conscious thought and simply become how they climb.
Frequently Asked Questions
Does uphill walking actually put more stress on the knees than flat walking?
It changes the type of stress rather than uniformly increasing it. Research on knee abduction moment, a marker tied to inner-knee load, has found it can decrease as grade increases. What typically rises instead is patellofemoral load from deeper, longer knee flexion, which is why kneecap-area discomfort, not deep joint pain, is the more common complaint on climbs.
Should I shorten my stride on every hill, or only steep ones?
Shortening the stride helps on any noticeable grade, but the adjustment matters more as the incline steepens. On a gentle rise, a normal walking stride with a slight lean is often enough. On anything that feels like sustained climbing, cut the stride down before the knee starts to complain.
Do trekking poles really make a measurable difference, or is it mostly psychological?
Pole-walking research has documented measurable changes in exercise capacity and cardiovascular response, indicating a genuine shift in how effort is distributed across the body rather than a placebo effect. Practically, poles reduce how much the legs alone have to generate to move the body upward, which lowers the demand placed on the knee.
How long before strengthening exercises change how hills feel?
Most people who train the glutes, quadriceps, and calves two to three times weekly notice a difference in four to six weeks. Consistency across those weeks matters more than the intensity of any single session.
Is knee pain only on the way up, or also on the way down, a sign of the same problem?
Not necessarily. Uphill discomfort tends to relate to quadriceps and patellofemoral load from sustained knee flexion under propulsion. Downhill discomfort has a different mechanism, largely eccentric quadriceps control absorbing impact, and can call for separate technique and strength adjustments beyond the scope of this guide.
What if the pain is only on one side or accompanied by swelling?
One-sided pain with swelling, warmth, or a feeling of the knee giving way is outside the range of ordinary training soreness and should be evaluated by a physician or physical therapist before continuing regular hill walking.
References
- Higgins, B. et al. (2025). Peak knee abduction moment across incline grades in older adult gait. Referenced via Frontiers in Bioengineering and Biotechnology, frontiersin.org.
- Himmelreich, H. et al. (2008); Wall-Scheffler, C. et al. (2010); and Minetti, A. et al. (2002). Gluteal EMG activity, lower-limb muscle activity, and energy cost across incline grades, summarized in an incline walking research review at getfitcraft.com/science/incline-walking-research.
- Southampton biomechanics research on knee flexion angle and patellofemoral pressure during graded ambulation, eprints.soton.ac.uk.
- Patellofemoral joint stress and load-carriage mechanics during graded stepping tasks, pmc.ncbi.nlm.nih.gov.
- Physio-pedia. Patellofemoral Pain Syndrome: causes, hip-knee strengthening evidence, and management, physio-pedia.com.
- Trekking pole use and Nordic walking research on exercise capacity and cardiovascular response, en.wikipedia.org.
By Olivia Bennett